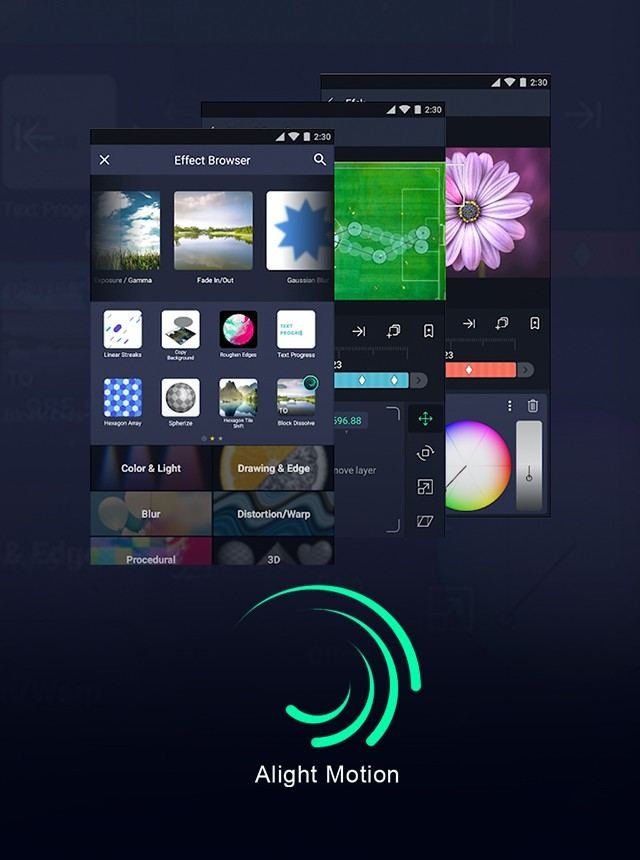
Adding CC or color correction in Alight Motion transforms your videos, making them more visually appealing. Start by opening your project and selecting the layer you want to edit. Next, tap the ‘Effects’ button and choose ‘Color’ to access the color correction tools. Adjust the settings to achieve your desired look. With these steps, you can easily learn how to add CC in Alight Motion, enhancing your projects with vibrant colors and professional quality.
Table of Contents
- How to Add CC in Alight Motion
- Frequently Asked Questions
- Final Thoughts
How to Add CC in Alight Motion
Creating visually stunning videos can be enhanced by adding color correction (CC) to make your content stand out. Alight Motion, a popular mobile app for motion design and video editing, offers various tools to help you add CC easily. Additionally, if you’re looking to know how to add photo in Alight Motion, this guide will cover that as well. We will break down the process into simple steps. Whether you’re a beginner or an experienced video editor, you’ll find everything you need to know here.
Understanding Color Correction
Before diving into the steps, it’s important to understand what color correction is. Color correction involves adjusting the colors in a video to achieve a natural and consistent look. This can help in:
- Enhancing the expressiveness of a video
- Creating a mood or atmosphere
- Ensuring color consistency across all clips
Getting Started with Alight Motion
First, make sure you have Alight Motion installed on your device. You can download it from the App Store or Google Play. Open the app and follow these steps:
Creating a New Project
- Open Alight Motion
- Tap the “+” icon to create a new project
- Set your project settings like resolution and frame rate
- Tap “Create Project”
Importing Your Video
- Tap the “+” icon in your project timeline
- Select “Media”
- Choose the video you want to edit from your gallery
Applying Color Correction in Alight Motion
Now that your project is set up and your video is imported, let’s move on to applying color correction.
Using the Color Adjustment Tool
The Color Adjustment tool allows you to tweak various aspects of color in your video:
- Tap on the video layer to select it
- Tap on “Effects” (the star icon)
- Tap “Add Effect” and select “Color Adjustment”
- Adjust parameters like Brightness, Contrast, and Saturation
Using the Curves Tool
For more precise control, the Curves tool can be very useful:
- Select your video layer
- Tap on “Effects”
- Tap “Add Effect” and choose “Curves”
- Drag the curve to adjust the color channels individually (Red, Blue, Green)
Advanced Techniques in Color Correction
Once you are comfortable with the basic tools, you can explore advanced techniques to further enhance your videos.
Applying LUTs (Look-Up Tables)
LUTs are predefined color correction settings that can give your video a professional look:
- Search for free or paid LUTs online and download them
- In Alight Motion, tap on the video layer
- Go to “Effects” and tap “Add Effect”
- Select “LUT” and import your downloaded LUT file
Blending Modes
Blending modes can further refine the color and lighting of your video:
- Select your video layer and go to “Effects”
- Tap “Add Effect” and choose “Blending Modes”
- Experiment with different blending options like Overlay, Multiply, and Screen
Fine-Tuning Your Color Correction
Once you’ve applied the initial color correction, it’s time to fine-tune it to perfection.
Checking Your Work
- Play through your video to see your color corrections in action
- Make note of any areas that may need additional adjustments
Making Adjustments
- Return to the effects settings and make small tweaks as needed
- Compare different versions of your video to choose the best look
Saving and Exporting Your Project
After you are satisfied with the color correction, it’s time to save and export your project.
Saving Your Project
- Tap the back arrow to save your project automatically
Exporting Your Video
- Tap the share icon
- Choose your desired export settings (resolution, frame rate, etc.)
- Tap “Export”
Best Practices for Color Correction
Here are some best practices to get the most out of your color correction efforts:
- Start with a well-lit video: Good lighting makes color correction easier and more effective.
- Be subtle: Small adjustments can make a big difference. Avoid over-correcting.
- Use reference images: Look at professionally edited videos for inspiration and guidance.
By following these steps and best practices, you can add effective and visually appealing color correction to your videos using Alight Motion. So, go ahead and start creating stunning videos with enhanced colors that captivate your audience.
Frequently Asked Questions
How do I apply a color filter in Alight Motion?
To apply a color filter in Alight Motion, start by selecting the layer you want to edit. Then, navigate to the ‘Effects’ menu and choose ‘Add Effect’. Search for ‘Color Filter’ in the list of effects. Once you find it, tap to apply. Adjust the filter settings according to your preference, and then save your project.
Can I use presets for color correction in Alight Motion?
Yes, you can use presets for color correction in Alight Motion. To do this, go to the ‘Effects’ tab and look for the ‘Presets’ section. Browse through the available color correction presets, and tap on the one you want to apply. This will automatically adjust the color settings based on the preset you selected. You can still make further manual adjustments if needed.
How can I save my custom color correction settings in Alight Motion?
To save your custom color correction settings in Alight Motion, first make all the desired adjustments to your layer. Then, go to the ‘Effects’ menu and tap on ‘Save Effect Preset’. Give your preset a name and save it. You can now easily apply this custom preset to other projects by selecting it from the ‘Presets’ section in the ‘Effects’ tab.
Final Thoughts
Adding CC in Alight Motion enhances your video’s visual appeal. Start by opening your project and selecting ‘Color & Fill.’ Choose a preset or customize the color correction settings to match your desired look. Save and apply the changes, then review the final output to ensure it meets your expectations. By following these steps, you can effortlessly add cc in Alight Motion, making your videos stand out.


