Creating shakes on Alight Motion is simpler than it seems. Begin by opening the app and selecting your desired project. Next, import your video and head to the “Effects” section. Choose the “Shake” effect, and adjust the settings to your preference.Experiment with frequency and amplitude to get the perfect shake. Play around with keyframes for smoother transitions. Now you’re ready to export and share your eye-catching animations. Enjoy making shakes on Alight Motion!
Table of Contents
- How to Make Shakes on Alight Motion
- Frequently Asked Questions
- Final Thoughts
How to Make Shakes on Alight Motion
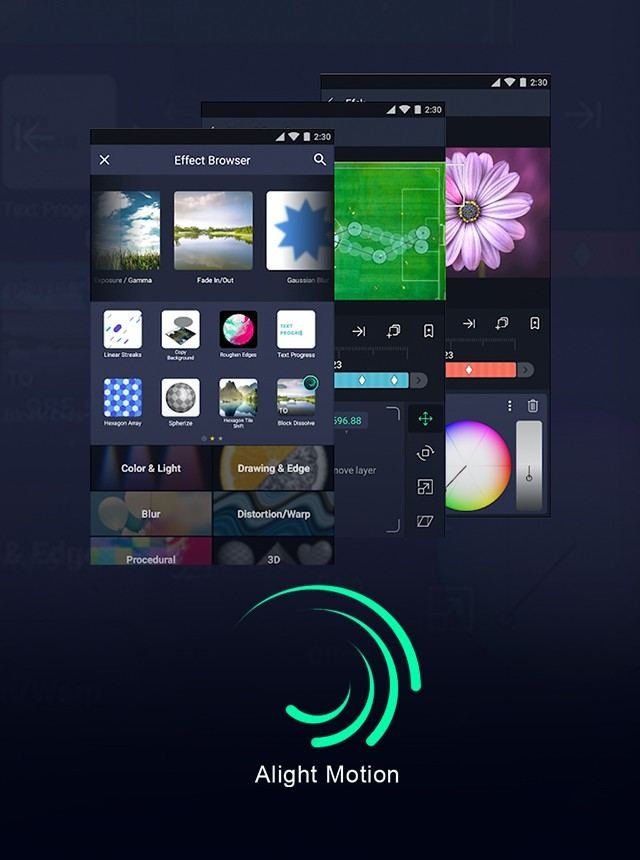
Creating dynamic and engaging shakes on Alight Motion can significantly elevate your video editing skills. Alight Motion, a powerful video and animation editing app, allows users to create professional-quality shakes with just a few steps. If you’re also curious about how to make animation in Alight Motion, this guide will walk you through the process, ensuring you gain a clear understanding of the features and techniques involved.
Understanding the Basics of Alight Motion
Before diving into the creation process, it’s essential to understand what shakes are and how they enhance videos. Shakes are abrupt, jittery movements within a video clip, often used to create a sense of intensity or excitement. In Alight Motion, you can add these effects to bring your videos to life.
Downloading and Setting Up Alight Motion
If you haven’t already, download and install Alight Motion from the App Store or Google Play Store. Once installed:
1. Open the app.
2. Sign up or log in with your credentials.
3. Familiarize yourself with the interface.
Getting Started with Your Project
1. Create a New Project:
– Tap the “+” icon to start a new project.
– Choose your desired aspect ratio, resolution, and frame rate.
– Give your project a name.
2. Import Your Media:
– Tap the “+” icon again.
– Select “Media” to import your video clips or images.
Adding Shakes to Your Video
Now that your project is set up, let’s move on to adding shakes. This section will detail the steps required to achieve this effect.
Step-by-Step Guide to Adding Shakes
- – Tap on the layer you want to apply the shake effect to.
- – Move the playhead to the starting point of the shake.
– Tap the keyframe icon to add a keyframe. - – Slightly move your layer to create the initial movement.
– Move the playhead forward a few frames. - – Continue adding keyframes and adjusting the position to create a jittery effect.
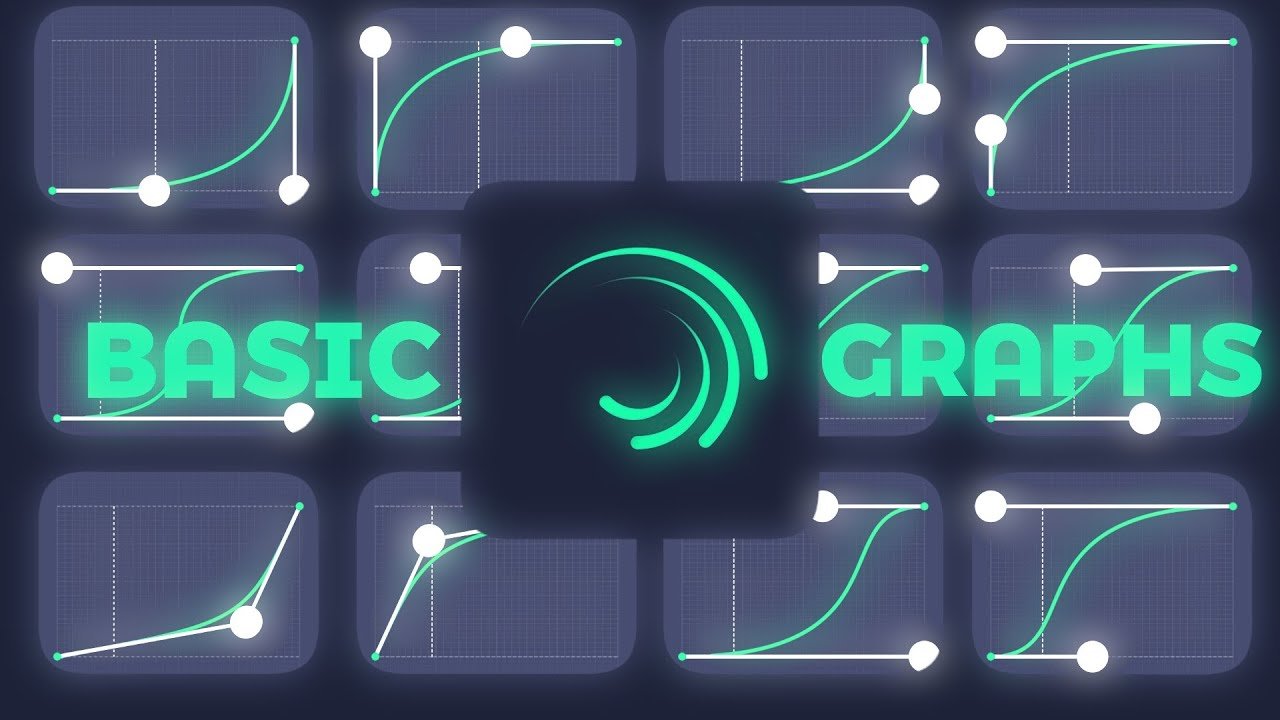
- – Apply easing to smooth the transitions between keyframes.
– Go to the “Graphs” tab and choose an easing curve that suits your style.
Advanced Techniques for Creating Shakes
Once you’ve mastered the basic shake effect, you might want to explore more advanced techniques. Here, we’ll discuss how to refine and enhance your shakes using additional tools in Alight Motion.
Using Motion Blur
Motion blur can add a more realistic feel to your shakes:
- – Select your layer.
- – Go to the “Effects” tab.
- – Add “Motion Blur” from the list of effects.
- – Fine-tune the motion blur intensity to match the shake effect.
Incorporating Zoom Shakes
Zoom shakes add depth and dimension to your footage:
- – Select your layer.
- – Go to the “Scale” setting.
- – Add keyframes to scale your layer up and down rapidly.
- – Use the same method as before to add position shakes.
- – Sync the zoom and position keyframes for a cohesive effect.
Using the “Wiggle” Effect
The wiggle effect can automate the shake process:
- – Select your layer.
- – Go to the “Effects” tab.
- – Add the “Wiggle” effect.
- – Adjust the frequency and amplitude for the desired intensity.
- – Combine with manual keyframes for a unique look.
Tips and Best Practices for Shakes in Alight Motion
Understanding and applying shakes effectively is more than just knowing the software. Here are some tips to ensure your shakes enhance rather than detract from your video:
- Don’t Overdo It: Excessive shaking can make your video hard to watch. Use shakes sparingly to maintain viewer engagement.
- Match the Music: Sync your shakes with beats in the background music for a more polished effect.
- Use Previews: Regularly preview your work to ensure the shakes look as intended.
- Experiment: Don’t be afraid to try different settings and combinations to find what works best for your project.
Common Problems and How to Fix Them
Even with detailed instructions, you might encounter issues. Here are some common problems and their solutions:
Shakes Are Too Intense
– Decrease the amplitude of your keyframes or the settings in the wiggle effect.
Shakes Are Not Smooth
– Ensure you have enough keyframes and use easing to smooth transitions.
Shakes Are Off-Sync
– Double-check the timing of your keyframes and sync with your audio track if necessary.
Additional Resources and Tutorials
Continuing to learn and grow in your video editing journey is crucial. Here are some additional resources to help you become even more proficient with shakes in Alight Motion:
- YouTube Tutorials: Search for Alight Motion shake effect tutorials for visual examples.
- Reddit Community: Engage with other Alight Motion users for tips and advice.
- Alight Motion Official Website: Check out official guides and updates.
- Online Courses: Invest in a comprehensive course to deepen your knowledge.
By following this guide, you can master the technique of adding shakes on Alight Motion, enhancing your video creations with dynamic and appealing effects. Keep practicing and experimenting with different settings to perfect your skills!
Frequently Asked Questions
Is it possible to apply shake effects to text in Alight Motion?
Yes, you can apply shake effects to text in Alight Motion. Add a text layer to your project, then go to the ‘Effects’ panel and choose the ‘Shake’ effect. Adjust the settings as needed to create the shake effect on your text.
What are some tips for creating smooth shake transitions in Alight Motion?
To create smooth shake transitions, use keyframes to control the start and end points of the shake effect. Gradually increase and decrease the shake intensity by adjusting the amplitude and frequency at different keyframes. This will ensure a seamless and smooth transition.
Can you save and reuse shake presets in Alight Motion?
Yes, you can save and reuse shake presets in Alight Motion. Once you have configured a shake effect that you like, you can save it as a custom preset. Go to the ‘Effects’ panel, tap on the three dots next to the effect, and select ‘Save Preset.’ You can then apply this preset to other layers in future projects.
Final Thoughts
To make shakes on Alight Motion, start by importing your video and adding keyframes. Adjust the position, scale, and rotation of the frames to create the shake effect. Fine-tune the motion by adding graphs and easing. Experiment with different settings until you achieve the desired intensity and smoothness. Finally, preview your shake effect and make any necessary adjustments before exporting your video. By following these steps, you can effectively create professional-looking shakes on Alight Motion.


