Marking beats in Alight Motion is simpler than it seems. Start by importing your audio and setting it on the timeline. Tap on the audio layer and use the scrubber to find the beats. Watch for the peaks in the waveform to identify the beat points. Once you find a beat, add a marker by tapping the plus icon. Repeat these steps for all the beats you want to mark. With practice, you’ll get faster and more precise. Now, let’s dive deeper into each step to perfect your beat marking in Alight Motion.
Table of Contents
- How to Mark Beats in Alight Motion
- Frequently Asked Questions
- Final Thoughts
How to Mark Beats in Alight Motion
When editing videos or creating animations, timing is everything. One key aspect that many creators focus on is marking beats, which is crucial for syncing visual elements to music or sound effects. Additionally, understanding how to move the pivot point in Alight Motion can significantly impact your animation’s precision and effectiveness. In this comprehensive guide, we’ll delve into everything you need to know about marking beats in Alight Motion. Whether you’re a beginner or have some experience, you’ll learn useful tips and tricks to perfect your editing skills.
What is Alight Motion?
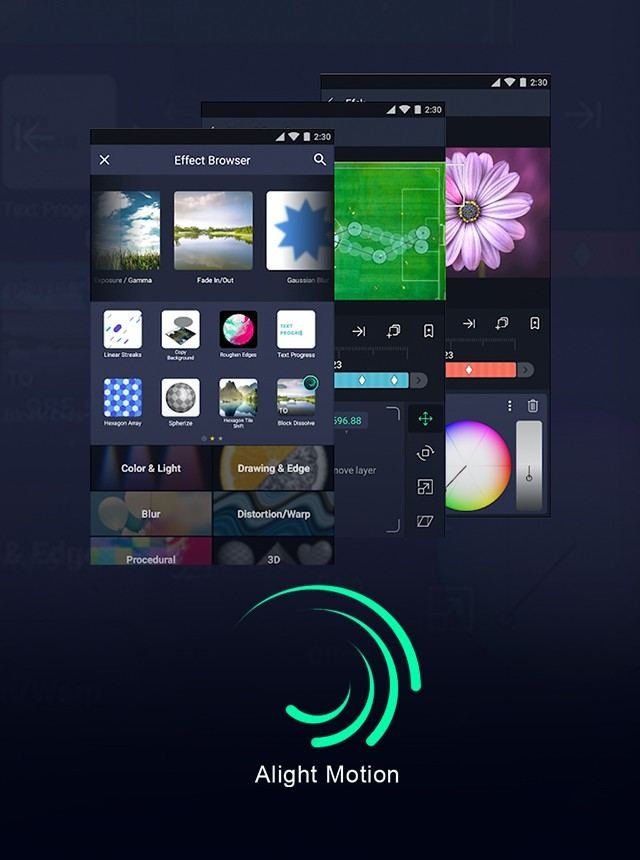
Alight Motion is a versatile video editing app available on both Android and iOS platforms. It allows users to create professional-quality animations, motion graphics, visual effects, and video edits. Its user-friendly interface and powerful features make it a popular choice among content creators.
Understanding Beats and Why They Matter
Music and sound add life to videos and animations. Beats are the rhythmic pulses in music that you can align your visual elements with. Marking beats correctly ensures your video feels more synchronized, enhancing the overall viewing experience.
Benefits of Marking Beats
- Creates a seamless blend of audio and visual elements
- Engages viewers by maintaining rhythm and flow
- Enhances storytelling through synchronized actions
- Makes videos more professional and polished
Getting Started: Basic Setup
Before you start marking beats, you need to set up your project in Alight Motion.
Step-by-Step Setup
- Open Alight Motion and tap on the ‘+’ symbol to create a new project.
- Select the desired aspect ratio, resolution, and frame rate.
- Import your audio file by tapping on ‘Audio’ and selecting from your device.
- Once the audio is in the timeline, play it to get a sense of the beats you want to mark.
Marking Beats: The Process
Now that you have your project set up, it’s time to mark those beats.
Manual Beat Marking
- Listen to the audio and identify the beats you want to mark.
- Pause the audio at each beat point and note the timestamp.
- Use the ‘Add Marker’ tool in Alight Motion to place a marker at each timestamp.
Visual Beat Marking
Sometimes, using visual cues can also be effective, especially in music with strong, visible spikes.
- Look at the audio waveform in your timeline.
- Identify the peaks and valleys corresponding to beats.
- Place markers at these visual cues for better accuracy.
Using Tap-to-Beat Feature
Alight Motion includes a helpful feature called ‘Tap-to-Beat’ which simplifies the process.
- Play the audio track.
- Tap on the screen every time you hear a beat.
- The app will automatically place markers at these points.
Syncing Visuals to Beats
Marking beats is just the first step; the next phase involves syncing your visual elements.
Matching Visual Elements
- Move your video clips or animations to align with the beat markers.
- Ensure transitions, effects, and cuts happen precisely at the beat points.
- Use Alight Motion’s timeline scrubbing feature to fine-tune the alignment.
Adding Effects and Transitions
Alight Motion offers a range of effects and transitions that can be synced to beats.
- Select an effect or transition you want to use.
- Drag and drop it onto your clip at the beat marker point.
- Adjust the duration to ensure it matches the beat rhythm.
Advanced Techniques for Beat Marking
Once you’re comfortable with the basics, try these advanced techniques to take your beat marking to the next level.
Using Keyframes
Keyframes are essential for creating complex animations and effects.
- Place keyframes at beat markers for precise control over animations.
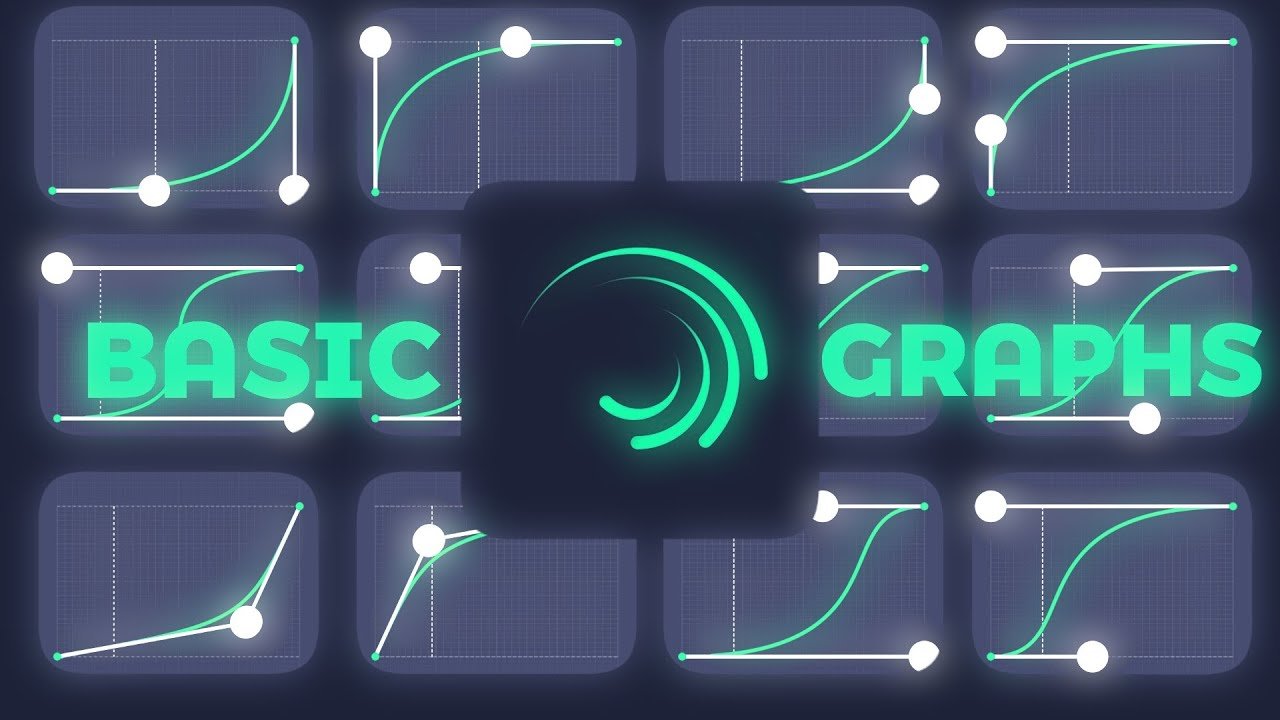
- Use linear, ease-in, and ease-out keyframe types to create smooth transitions.
- Experiment with different properties (opacity, scale, rotation, etc.) at each beat.
Looping Animations
Looping animations can add a dynamic touch to your project.
- Create a short animation sequence.
- Copy and paste this sequence multiple times in the timeline.
- Align each sequence with beat markers for a rhythmic loop.
Troubleshooting Common Issues
Even with the best planning, some issues may arise. Here’s how to troubleshoot common problems.
Markers Not Syncing Properly
- Ensure your frame rate matches the audio file’s tempo.
- Double-check the timestamps and marker placements.
- Use Alight Motion’s zoom feature to get a closer look at the timeline for better accuracy.
Audio Lag
Sometimes audio lag can affect the syncing process.
- Close any unnecessary apps running in the background.
- Clear cache memory to speed up your device.
- If the issue persists, try re-importing the audio file.
Tips and Tricks for Better Beat Marking
To make the most out of your editing sessions, consider these tips and tricks.
Practice Regularly
The more you practice, the better you get.
- Work on short projects to hone your skills.
- Challenge yourself with different genres of music.
- Experiment with various visual elements and effects.
Watch Tutorials
There are plenty of online resources to learn from.
- Follow Alight Motion’s official YouTube channel for tutorials.
- Join online forums and communities to share tips and experiences.
Use Reference Material
Using reference material can provide inspiration and guidance.
- Watch music videos and note how they sync visuals to beats.
- Analyze other creators’ work in Alight Motion for ideas and techniques.
Tools and Resources for Enhanced Beat Marking
Various tools and resources can aid in beat marking.
Audio Editing Software
Tools like Audacity can help refine your audio before importing it into Alight Motion.
- Cut and trim audio clips.
- Enhance audio quality and remove background noise.
- Identify beats more clearly for accurate marking.
External Plugins and Effects
Enhance Alight Motion with external plugins and effects.
- Explore third-party plugins for additional effects and transitions.
- Use LUTs (Look-Up Tables) for color grading and enhancing visuals.
Frequently Asked Questions
Can I adjust the markers after placing them?
Yes, you can adjust the markers after placing them in Alight Motion. Simply tap and hold the marker you want to move, then drag it to the new desired position on the timeline. This allows you to fine-tune your sync points easily.
Is there a way to see the waveform of the audio in Alight Motion?
Yes, you can view the waveform of the audio by selecting the audio track in your timeline. Once selected, the waveform will be visible, allowing you to see where the beats and peaks occur. This visual aid can help you more accurately place your markers.
How do I export my project with synced beats in Alight Motion?
To export your project with synced beats, tap the export icon typically located at the top right of the screen. Choose your desired format and resolution settings, then tap ‘Export’. Alight Motion will render your project, keeping the audio and video in sync as you have marked them.
Final Thoughts
Marking beats in Alight Motion involves precise timing and attention to detail. Start by importing your audio track and identifying the beats visually or by listening. Use markers to indicate each beat for easy reference. Synchronize your visual elements to these markers to create a seamless and engaging effect. Regularly preview your work to ensure accuracy and make adjustments as needed. Mastering how to mark beats in Alight Motion can significantly enhance the quality of your animations and videos, making them more dynamic and rhythmically engaging.


