Need to replace a photo in Alight Motion? It’s simpler than you might think! Just open your project, tap on the photo you want to replace, then hit ‘Replace’. Choose your new photo from your gallery. Watch as it seamlessly integrates into your project. Follow these steps to keep your animation looking fresh and professional.
Table of Contents
How to Replace a Photo in Alight Motion
So, you’ve taken on the challenge of replacing a photo in Alight Motion, a popular mobile-based video and animation editing app. Whether you’re a beginner or an intermediate user, this guide will walk you through each step in detail. Additionally, if you’re looking to learn how to import XML files in Alight Motion iOS, this guide will also cover that. Let’s dive right in.
Understanding Alight Motion
Before we jump into the specifics, it’s important to grasp what Alight Motion is and why it’s such a valuable tool for animation and video editing.
What is Alight Motion?
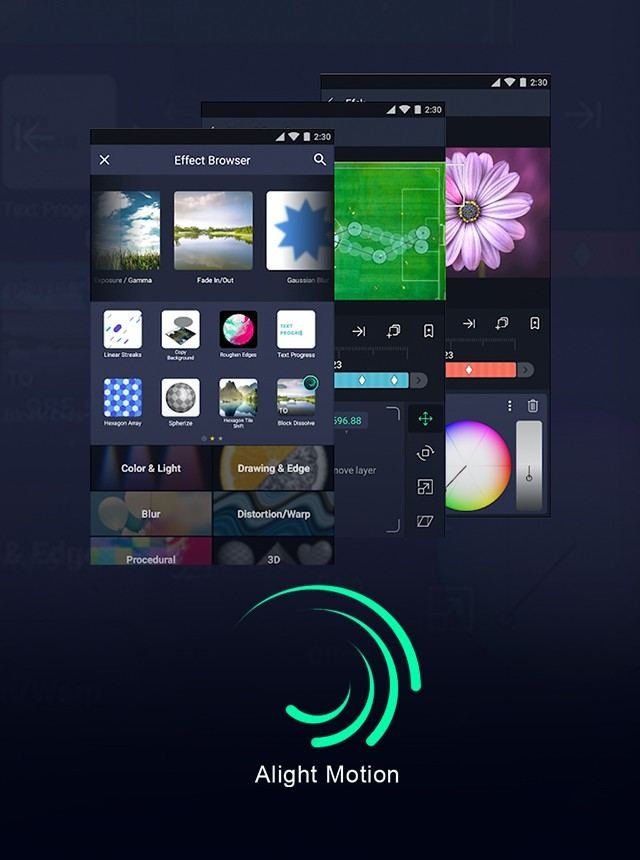
Alight Motion is a video and animation editing app available on both Android and iOS platforms. It includes professional-grade features such as vector and bitmap support, visual effects, and keyframe animations. Users can edit videos, create animations, and add visual effects with relative ease.
Why You Might Want to Replace a Photo
There are numerous reasons why you might need to replace a photo in Alight Motion:
- Updating outdated content
- Enhancing the visual appeal of a project
- Improving the overall quality of your video
- Customizing content to suit your needs
Preparing Your Workspace
Before you start, make sure you have everything ready. This includes:
- Your mobile device with Alight Motion installed
- The new photo you want to use
- The project file where the old photo is located
Opening Your Project
To begin, open Alight Motion and navigate to the project where the photo needs replacing.
1. Open Alight Motion on your device.
2. Select the project you want to edit from the main screen.
3. Tap on the project to open it.
Locating the Photo to Replace
Now that your project is open, the next step is to find the specific photo you want to replace.
Using the Timeline
The timeline is where you’ll find all your layers and elements.
- Scroll through the timeline to locate the photo layer.
- Tap on the photo layer to select it.
- You will see options to edit, replace, or delete the photo.
Replacing the Photo
Once you’ve selected the photo layer, follow these steps to replace it with a new one.
Using the Replace Feature
1. Tap on the photo layer to bring up the options.
2. Select “Replace Image” from the menu.
3. Choose the new photo from your device’s gallery.
4. Adjust the new photo as needed to fit within the existing project.
Manual Replacement
If the replace feature doesn’t work as expected, you can manually replace the photo.
1. Delete the old photo layer by tapping on it and selecting “Delete.”
2. Add a new layer by tapping the “+” button.
3. Select “Image” and choose the new photo from your gallery.
4. Position and resize the new photo to fit within the project.
Fine-Tuning Your Edits
Replacing a photo isn’t just about swapping one image for another. You should also fine-tune the new photo so it seamlessly integrates into your project.
Adjusting Size and Position
1. Tap on the new photo layer to select it.
2. Use your fingers to pinch and zoom, adjusting the size of the photo.
3. Drag the photo to position it in the right spot.
Applying Filters and Effects
1. Select the new photo layer.
2. Tap on “Effects” to open the effects panel.
3. Choose from a variety of filters and effects to match the style of your project.
Working with Keyframes
If your project involves animations, you may need to adjust keyframes after replacing the photo.
Understanding Keyframes
Keyframes are markers that define the start and end points of any animation.
1. Select the new photo layer.
2. Navigate to the keyframe timeline.
3. Adjust the keyframes to ensure the new photo follows the same animation path as the old one.
Adding New Keyframes
Sometimes, adding new keyframes can help make the transition smoother.
1. Select the photo layer.
2. Tap on the timeline to add new keyframes.
3. Adjust the position, scale, or rotation at each keyframe.
Finalizing Your Project
Once you’ve replaced the photo and made all necessary adjustments, it’s time to finalize your project.
Previewing Your Work
1. Tap on the “Play” button to preview your project.
2. Make note of any areas that need further adjustment.
3. Pause the preview and make any final tweaks.
Exporting Your Project
1. Tap on the “Export” button when you’re satisfied with your edits.
2. Choose your export settings (resolution, frame rate, etc.).
3. Save the video to your device or share it directly to social media.
Frequently Asked Questions
How do I replace an existing photo with a new one without losing my edits?
To replace an existing photo while keeping your edits, select the photo layer that you want to change. Tap on the “Replace” option, then choose the new photo from your gallery. The new photo will take the place of the old one, and any transformations or effects will remain applied to the new image.
Is it possible to adjust the opacity of a photo in Alight Motion?
Yes, you can adjust the opacity of a photo in Alight Motion. Select the photo layer and tap on the “Opacity” option from the toolbar at the bottom. Use the slider to adjust the transparency level of the photo. This allows you to blend the photo with other layers for creative effects.
How do I crop a photo within Alight Motion?
To crop a photo in Alight Motion, select the photo layer and tap on the “Mask” option. Choose the “Rectangle” or “Ellipse” mask shape and position it over the area you want to keep in the photo. Adjust the size of the mask as needed. Only the area within the mask will remain visible.
Final Thoughts
Replacing a photo in Alight Motion is straightforward. First, open your project and select the layer with the photo. Tap on the ‘Replace‘ option and choose a new photo from your gallery. Adjust its size and position as needed. Double-check the new photo’s placement and ensure it matches the project’s overall aesthetics. With these simple steps, anyone can easily learn how to replace a photo in Alight Motion, making your edits seamless and efficient.


