Replacing an image in Alight Motion is a straightforward task. Open your project and select the layer containing the image you want to change. Tap on the image layer and choose “Replace Media.” Next, select the new image from your gallery or files. The new image will automatically replace the old one without disturbing your existing animations and settings. With this easy method, you can keep your visuals fresh and updated without starting from scratch. Let’s delve into the detailed steps to ensure your edits are seamless and efficient.
Table of Contents
- How to Replace Image in Alight Motion
- Frequently Asked Questions
- Final Thoughts
How to Replace Image in Alight Motion
Replacing an image in Alight Motion can seem intimidating if you’re new to the app, but with a little guidance, it becomes a breeze. In this main body, we will walk you through the entire process step-by-step. Additionally, we will cover how to sign in to Alight Motion Mod APK to ensure you can confidently replace images in your projects and unleash your creativity with ease.
Getting Started with Alight Motion
Before diving into the image replacement process, let’s ensure you have Alight Motion installed on your device. Alight Motion is available for both Android and iOS platforms. You can download it from the Google Play Store or the Apple App Store. Once installed, open the app, and let’s get started.
Understanding the Alight Motion Interface
When you open Alight Motion, you will see a clean and intuitive interface. Here’s a quick overview:
- Main Menu: Located at the top left, this menu provides access to your projects, settings, and tutorials.
- Timeline: This is where you will see all your layers, including images, text, and effects.
- Layer Panel: On the right side, this panel allows you to add or delete layers and adjust settings.
- Editing Tools: At the bottom, you’ll find tools for trimming, cutting, duplicating, and more.
Importing an Image
Now that you’re familiar with the interface, let’s import an image to use in your project.
Step-by-Step Guide to Importing an Image
- Start a New Project: From the main menu, tap the “+” button to create a new project. Set your project settings like resolution and frame rate, then tap “Create Project.”
- Add an Image Layer: Tap the “+” button at the bottom of the screen to add a new layer. Select “Image” from the list of options. This will open your device’s gallery.
- Select an Image: Choose the image you want to use from your gallery. Once selected, the image will appear in your project timeline.
Adjusting the Image
Once your image is in the project timeline, you might need to adjust its size, position, or rotation.
- Resize: Tap on the image layer to select it. Use the handles around the image to resize it as needed.
- Move: Tap and drag the image to reposition it on the canvas.
- Rotate: Use the rotation handle to rotate the image to the desired angle.
Replacing the Image
Now comes the main task: replacing an existing image in your project with a different one.
Step-by-Step Guide to Replacing an Image
- Select the Image Layer: In the timeline, tap on the image layer you want to replace.
- Open Layer Properties: Tap on the “Layer” option at the bottom of the screen to open the layer properties menu.
- Replace Image: In the layer properties menu, you’ll see an option labeled “Replace Media.” Tap on it to open your device’s gallery.
- Choose a New Image: Select the new image you want to use from your gallery. The app will automatically update the image in your project.
Fine-Tuning After Replacement
After replacing the image, you may need to make a few adjustments to ensure it fits perfectly in your project.
- Resize and Reposition: Similar to the initial adjustments, you may need to resize and reposition the new image to match the old one’s placement.
- Reapply Effects: If your original image had effects applied, you might need to reapply or adjust these effects to suit the new image.
Working with Multiple Images
In many projects, you might need to replace multiple images or manage several image layers. Let’s explore how to handle these scenarios.
Organizing Layers
Managing multiple images means keeping your layers organized. Here’s how you can do it:
- Rename Layers: Tap on the layer name in the timeline and rename it to something descriptive. For example, “Background Image” or “Profile Picture.”
- Group Layers: Group related layers by selecting them, then tapping the “Group” option. This makes it easier to manage complex projects.
Replacing Multiple Images
When replacing multiple images, follow the same steps as before for each image layer. Keep track of the layers to ensure you’re replacing the correct image each time.
Saving and Exporting Your Project
After replacing the images and making final adjustments, it’s time to save and export your project.
Saving Your Project
Alight Motion automatically saves your project as you work, but it’s a good idea to manually save it as well:
- Go to the Main Menu: Tap the main menu icon at the top left of the screen.
- Save Project: Tap “Save Project” to ensure all your changes are saved securely.
Exporting Your Project
To export your project so you can share it:
- Tap Export: Tap the export icon at the top right corner of the screen.
- Choose Format: Select the desired export format (e.g., video, GIF, image sequence).
- Set Export Settings: Adjust settings like resolution and frame rate if needed, then tap “Export.”
Troubleshooting Common Issues
Sometimes, you might encounter issues while replacing images. Here are solutions to common problems:
Image Not Replacing Properly
If the image doesn’t replace properly, try these steps:
- Check Format: Ensure the new image is in a compatible format (e.g., JPEG, PNG).
- Restart App: Close and reopen Alight Motion to refresh the project.
- Update App: Make sure you have the latest version of Alight Motion installed.
Image Quality Issues
If the replaced image appears blurry or pixelated:
- Use High-Resolution Images: Ensure the new image is high resolution to maintain quality.
- Adjust Project Settings: Check your project settings for resolution and quality settings.
Advanced Tips and Tricks
To enhance your projects further, consider these advanced tips:
Using Masks
Masks allow you to control how much of the image is visible:
- Add Mask Layer: Tap the “+” button and select “Mask.”
- Adjust Mask: Position and resize the mask to highlight the desired part of the image.
Applying Effects
Alight Motion offers various effects to make your images stand out:
- Add Effect: Select the image layer, then tap “Effect” in the layer properties menu.
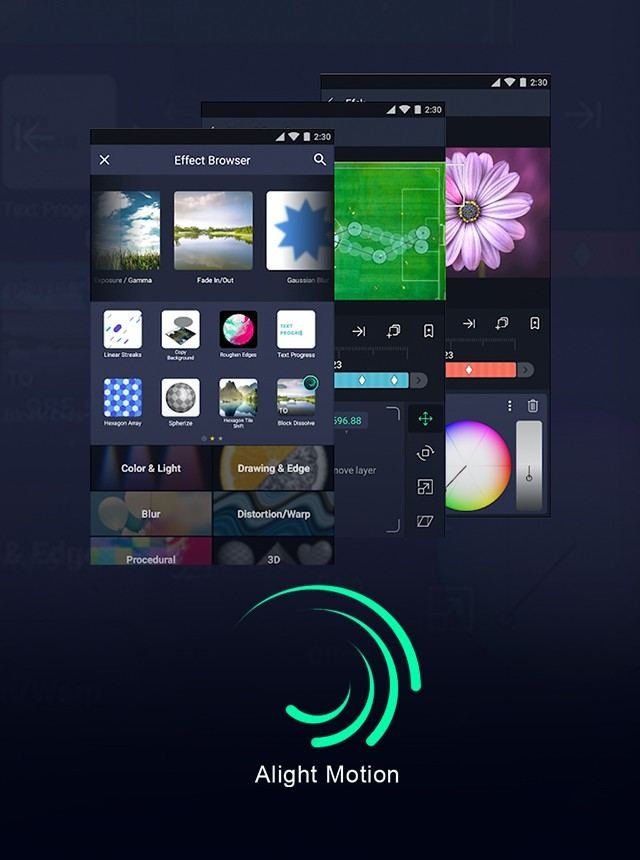
- Choose Effect: Browse through categories like “Color & Light,” “Blur,” and “Distortion” to find the perfect effect.
By following this comprehensive guide, you should now feel confident in your ability to replace and manage images in Alight Motion. Remember to save your project regularly and experiment with different tools and effects to create stunning visuals. Happy editing!
How to Replace Images Without Changing the Animation || Gacha Stu-Club Tutorial ||
Frequently Asked Questions
How do I adjust the size of the new image in Alight Motion?
After importing the new image, you can adjust its size by selecting the image layer and using the resize handles or by entering specific dimensions in the properties menu.
Is it possible to replace multiple images at once in Alight Motion?
Alight Motion does not support bulk image replacement directly. You need to replace each image individually by selecting its layer and importing the new image.
Can I use different formats of images in Alight Motion?
Alight Motion supports various image formats such as JPEG, PNG, and GIF. You can import and replace images of these formats without any issues.
Final Thoughts
Replacing an image in Alight Motion is a simple process. Start by opening your project and selecting the image layer you want to replace. Tap the ‘Replace‘ option and choose the new image from your gallery. Adjust the positioning and effects as needed. Make sure to save your project to retain the changes. Following these steps, anyone can easily understand how to replace image in alight motion and enhance their video editing projects.


