Reversing a video in Alight Motion is surprisingly simple. Open your project and select the video clip you want to reverse. Tap on the clip and navigate to the “Time” options. Here, you’ll find the “Reverse” feature; just click it, and your video will start playing in reverse. This feature can make your edits more dynamic and engaging. With a few taps, you can achieve stunning effects. Follow these steps to see how to reverse video in Alight Motion.
“`html
Table of Contents
- How to Reverse Video in Alight Motion
- What is Alight Motion?
- Getting Started
- Importing Your Video
- Trimming Your Video
- Reversing the Video
- Fine-Tuning the Reversed Video
- Adding Notes and Keyframes
- Exporting the Final Video
- Common Issues and Troubleshooting
- Tips for Effective Video Reversal
- Practical Applications of Reversed Videos
- How to REVERSE your clip|Alight Motion and CapCut tutorial
- Frequently Asked Questions
- Final Thoughts
How to Reverse Video in Alight Motion
To reverse a video in Alight Motion, you need to follow several steps to achieve a seamless and professional-looking effect. Whether you’re a beginner or have some experience with video editing, this guide will walk you through the process in detail. Let’s dive into how you can reverse your video using Alight Motion.
What is Alight Motion?
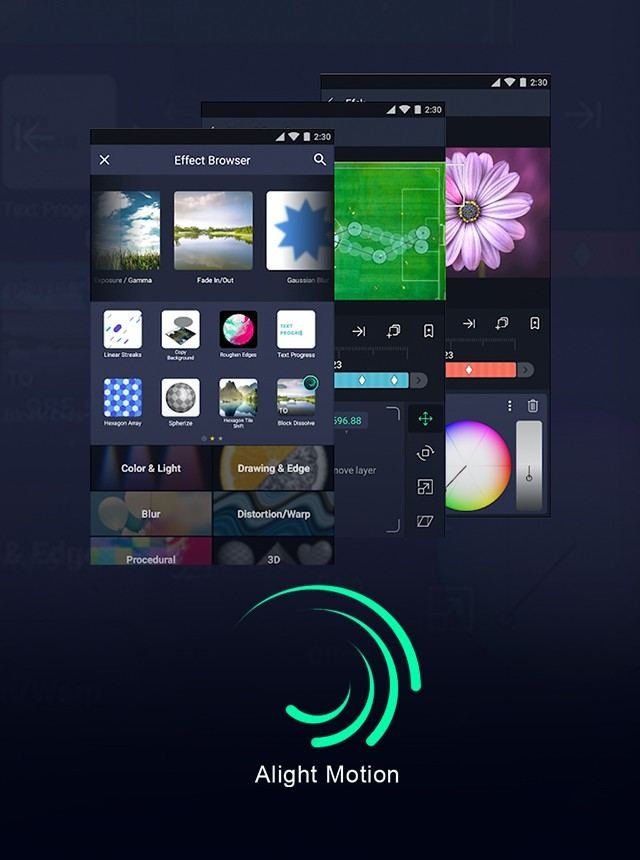
Alight Motion is a powerful video and animation editing app available on mobile devices. It offers a range of tools that allow users to create professional-quality animations and videos. With its user-friendly interface, Alight Motion has become a favorite among content creators for editing and enhancing their videos.
Getting Started
Before you can reverse a video in Alight Motion, you need to have the app installed on your mobile device. You can download it from the Google Play Store or the Apple App Store. Once you have the app installed, follow these steps to start your project:
- Open Alight Motion on your mobile device.
- Tap the “Create New Project” button.
- Choose your project’s resolution and frame rate according to your needs.
- Once the project is created, tap the “+” icon to import your video.
Importing Your Video
To import your video into Alight Motion:
- Tap on the “Media” button.
- Select the video you want to reverse from your device’s gallery.
- Once selected, the video will appear on your timeline.
Trimming Your Video
Before reversing your video, you may need to trim it to the desired length. Here’s how you can trim your video in Alight Motion:
- Tap on your video layer in the timeline to select it.
- Drag the handles on either end of the video layer to the desired starting and ending points.
- Make sure the trimmed portion is what you intend to reverse.
Reversing the Video
Once you have trimmed your video, you are ready to reverse it. Follow these steps:
- Tap the “Effects” button at the bottom of the screen.
- Select the “Time” tab from the effects options.
- Choose the “Reverse” effect from the list.
- Once you apply the reverse effect, the video will play in reverse in your timeline.
Fine-Tuning the Reversed Video
After reversing the video, you may want to make some additional adjustments to ensure it looks perfect. Here are some tips:
- Play the reversed video to check for any errors or unwanted segments.
- Adjust the speed if necessary to make the reversed video more fluid.
- Add transitions or effects to enhance the reversed video.
Adding Notes and Keyframes
Adding notes and keyframes can help you achieve more precise control over your video. Here’s how you can do it in Alight Motion:
Using Keyframes
- Tap the video layer to select it.
- Tap the keyframe button to add keyframes at the desired points in the video.
- Use keyframes to adjust the position, scale, and rotation of the video.
Adding Notes
- Tap the “Add Note” button to leave notes for yourself or collaborators.
- Notes can be reminders or instructions for additional edits.
Exporting the Final Video
Once you are satisfied with your reversed video, it’s time to export it. Follow these steps to export your video:
- Tap the “Export” button at the top right corner of the screen.
- Select your desired export settings, including resolution and frame rate.
- Tap the “Export” button again to save the video to your device.
Common Issues and Troubleshooting
Sometimes, you might encounter issues while reversing a video. Here are some common problems and how to fix them:
Video Not Reversing Properly
- Ensure that you have applied the reverse effect correctly.
- Check for any other conflicting effects that may interfere with the reverse effect.
- Re-import the video and try applying the reverse effect again.
Export Quality Issues
- Ensure that you have chosen the correct resolution and frame rate during export.
- Check your original video quality, as low-quality input will result in low-quality output.
- Re-export the video with higher quality settings if necessary.
Tips for Effective Video Reversal
To make your reversed video more engaging, consider the following tips:
- Use music and sound effects to enhance the reversed video.
- Combine the reversed video with normal footage for a creative effect.
- Experiment with different speeds to find the perfect flow for your video.
Practical Applications of Reversed Videos
Reversed videos can be used in various creative ways:
- Create mesmerizing visual effects for music videos or short films.
- Develop engaging content for social media platforms like TikTok and Instagram.
- Use reversed footage for unique transitions in your videos.
By following this step-by-step guide, you should now be able to reverse any video in Alight Motion with ease. Enjoy experimenting with your videos and creating captivating content!
“`
How to REVERSE your clip|Alight Motion and CapCut tutorial
Frequently Asked Questions
How do I access the reverse video feature in Alight Motion?
Open Alight Motion and load the video you want to edit. Tap on the video layer to select it, then access the editing options. Look for the “Reverse” option in the list of available effects. Once you select it, Alight Motion will reverse your video.
Can I adjust the speed of the reversed video in Alight Motion?
Yes, you can adjust the speed of the reversed video in Alight Motion. After reversing the video, go to the “Speed” settings. Here you can increase or decrease the playback speed of your reversed video to achieve the desired effect.
Will reversing a video affect its audio in Alight Motion?
Reversing a video in Alight Motion will also reverse the audio track. If you want the audio to play normally, you need to separate the audio from the video before applying the reverse effect. You can then reattach the audio after the video has been reversed.
Final Thoughts
Reversing a video in Alight Motion is straightforward and efficient. Open your project, import the video, and select the clip. Tap on the options icon and choose ‘Reverse’, then preview the changes. Make any necessary adjustments to fit your creative vision. Export the final reversed video in your desired format. With these simple steps, you can easily accomplish how to reverse video in Alight Motion, enhancing your editing capabilities.


