Ready to dive into video editing with Alight Motion? This powerful app offers a user-friendly interface, making it easy to create stunning edits on your mobile device. First, download and install Alight Motion from your app store. Open the app and start a new project; you’ll find a range of tools at your fingertips. Experiment with layers, effects, and animations to bring your vision to life. Adjust colors, add text, and incorporate audio for a polished finish. With practice, you’ll master how to use Alight Motion for edits, turning your ideas into captivating videos.
Table of Contents
How to Use Alight Motion for Edits
Alight Motion stands out as a go-to app for creating high-quality edits, especially for those passionate about video and motion graphics. Whether you’re a beginner or an experienced editor, understanding how to navigate and use Alight Motion can elevate your editing game. This guide will dive deep into how to use Alight Motion for edits, including how to make video in Alight Motion, from downloading the app to mastering advanced features.
Getting Started with Alight Motion
Downloading and Installing the App
First, you need to have Alight Motion installed on your device. The app is available on both Android and iOS platforms.
- Open Google Play Store or Apple App Store on your device.
- Search for Alight Motion in the search bar.
- Tap on the Install button next to the app icon.
- Wait for the installation to complete and open the app.
Creating a New Project
Once the app is installed, you can start by creating a new project:
- Open Alight Motion and tap on the + icon usually located at the bottom center.
- Choose the aspect ratio, resolution, and frame rate according to your project needs.
- Tap on Create Project.
Understanding the interface is crucial for efficient editing. Here’s what you need to know:
Main Dashboard
The dashboard is where you can see all your projects. You can manage, delete, or duplicate projects from here.
Editing Screen
The editing screen is where all the magic happens. It consists of:
- Timeline: The horizontal bar where you can see and manipulate your layers.
- Layers Panel: Located on the left side, it shows all the layers in your composition.
- Tools: Located at the bottom, including the selection tool, transform tool, and drawing tool.
Basic Editing Features
Learning the basic features will set a solid foundation for more complex edits.
Adding Media
- Tap on the + icon and select Media.
- Choose images, videos, or audio files you want to add from your device.
- Drag and drop the media onto the timeline.
Using Layers
Layers help organize your media. Different types of layers include:
- Media Layers: For videos, images, or audio.
- Shape Layers: For adding geometric shapes.
- Text Layers: For adding text.
To add a new layer, tap on the + icon and select the type of layer you want to add.
Applying Effects and Transitions
Effects and transitions enhance the visual appeal of your videos.
Adding Effects
- Select the layer you want to apply the effect to.
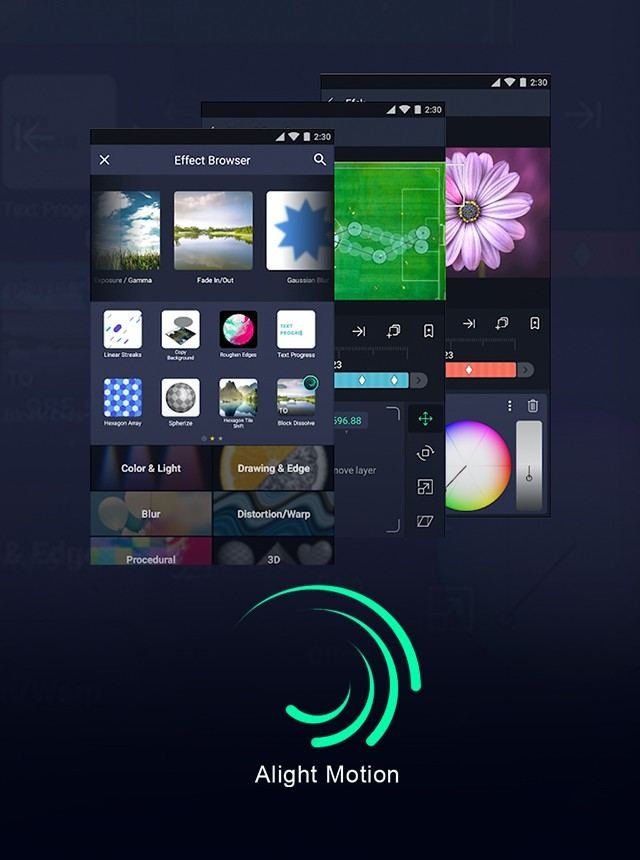
- Tap on Effects in the bottom panel.
- Browse through categories and select the effect you like.
- Adjust the effect’s properties using the sliders and options.
Using Transitions
- Transitions are used to smoothly shift from one scene to another.
- Drag a transition effect from the transition panel to your timeline.
- Adjust the duration to fit your needs.
Working with Keyframes
Keyframes allow for precise control over animations.
Setting Up Keyframes
- Select the layer you want to animate.
- Tap on the Keyframe icon to add a keyframe at the current time indicator.
- Move the time indicator and adjust the properties you want to animate.
- Alight Motion will automatically create a new keyframe at that point.
Managing Keyframes
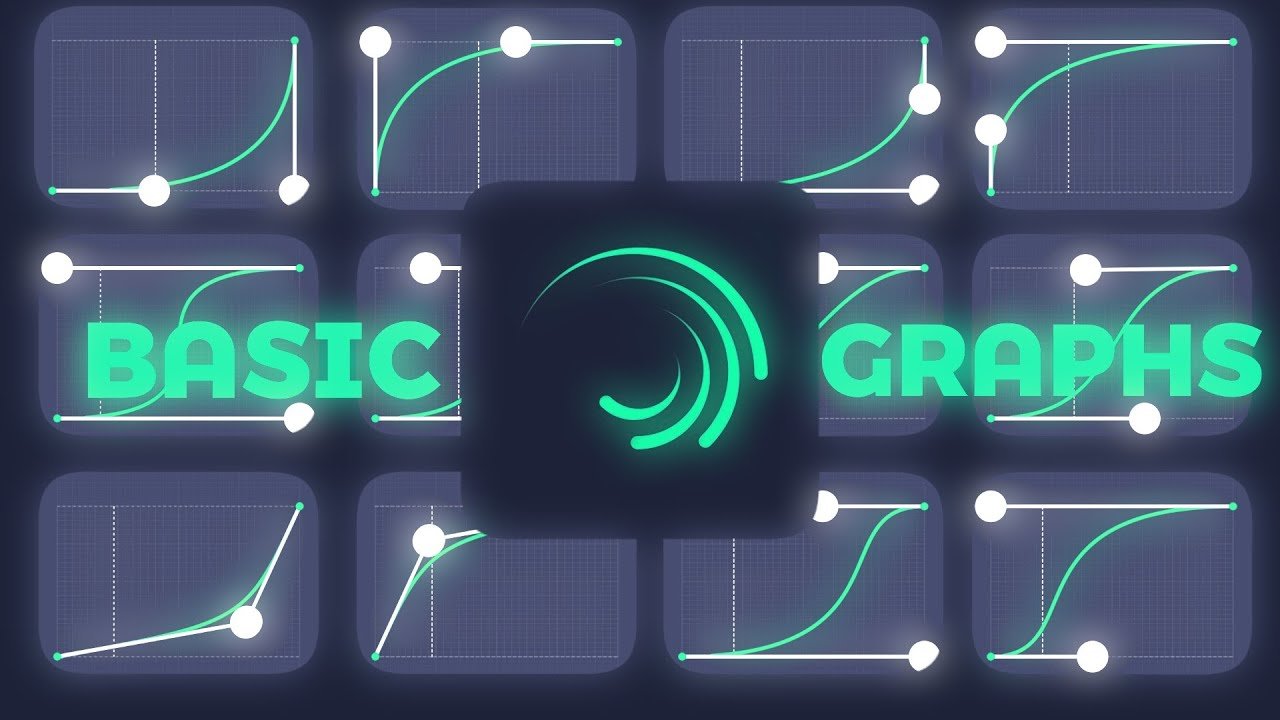
You can adjust, delete, or move keyframes by selecting them on the timeline and using the context menu that appears.
Advanced Editing Techniques
Once you’re comfortable with the basics, you can move on to more advanced techniques.
Masking
Masking allows you to hide or reveal parts of a layer:
- Select the layer you want to mask.
- Tap on the Mask icon and choose the shape of the mask.
- Adjust the mask’s position, size, and feathering to your preference.
Color Grading
Color grading enhances the visual tone of your project:
- Select the layer you want to color grade.
- Tap on Color & Light in the bottom panel.
- Adjust parameters like brightness, contrast, hue, and saturation.
Exporting Your Project
After finishing your edits, you’ll want to export your project:
- Tap on the Export icon, usually located at the top right.
- Select the format, resolution, and frame rate.
- Tap on Export and wait for the process to complete.
Congratulations! Now you know how to use Alight Motion for edits, from creating a project to exporting your masterpiece. Keep practicing and experimenting with different features to enhance your editing skills. Happy editing!
Frequently Asked Questions
How can you add text to your video in Alight Motion?
To add text to your video, tap the “+” button on the bottom toolbar and select “Text.” Type your desired text and customize it using the available options for font, size, color, and alignment. You can animate the text by adding keyframes to adjust its position, scale, and rotation over time.
Can you export videos in different resolutions and formats in Alight Motion?
Yes, you can export videos in different resolutions and formats in Alight Motion. When you’re ready to export, tap the “Export” button at the top right of the screen. You can choose the resolution, frame rate, and file format (such as MP4 or GIF) that best suits your needs. The app also provides options for adjusting the quality and compression of the exported video.
How do you use keyframes in Alight Motion for animation?
Keyframes are essential for creating animation in Alight Motion. Select the layer you want to animate and position the playhead at the starting point on the timeline. Tap the “Keyframe” icon to create the initial keyframe. Move the playhead to another point on the timeline, adjust the layer’s properties (such as position, scale, or rotation), and a new keyframe will be automatically created. The app will interpolate the changes between keyframes, creating smooth animations.
Final Thoughts
Using Alight Motion for edits streamlines video creation and boosts creativity. Master key features like layers, keyframe animations, and blending modes for impressive results. Experiment with color adjustments, effects, and transitions. Practice regularly to enhance your skills and create polished, professional edits.


