How To Use Alight Motion In Pc? Using Alight Motion on a PC might seem tricky since it’s primarily a mobile app, but there’s a simple solution. You can use an Android emulator like BlueStacks to run Alight Motion on your computer. First, download and install BlueStacks on your PC. Next, search for Alight Motion in the emulator’s app store and install it. Now, you can create and edit stunning videos right from your desktop. Let’s explore detailed steps and tips to make the most of Alight Motion on your PC.
Table of Contents
How To Use Alight Motion In Pc
Getting started with Alight Motion on a PC can seem daunting, especially if you’re accustomed to using it on mobile devices. But don’t worry! In this blog post, I’ll guide you through every single step you need to know. We’ll also cover how to import presets in Alight Motion on Android, which can enhance your editing experience. Let’s dive into how you can use Alight Motion on your computer, covering everything from installation to advanced editing techniques.
Installing Alight Motion on Your PC
To use Alight Motion on your PC, you first need to install an Android emulator because Alight Motion does not have a native PC version. Follow these steps:
Choosing an Emulator
An emulator mimics the Android environment on your PC, allowing you to run mobile applications. Here are some popular choices:
- BlueStacks
- LDPlayer
- Nox Player
For this tutorial, we’ll use BlueStacks as an example.
Installing BlueStacks
1. Visit the official BlueStacks website.
2. Download the installer file suitable for your operating system (Windows or Mac).
3. Open the installer file and follow the on-screen instructions to complete the installation.
4. Once installed, open BlueStacks and sign in with your Google account.
Downloading Alight Motion
1. In BlueStacks, open the Google Play Store.
2. Search for “Alight Motion”.
3. Click “Install” to download and install the app on your PC.
Now that Alight Motion is installed, let’s explore its features.
Understanding the Alight Motion Interface
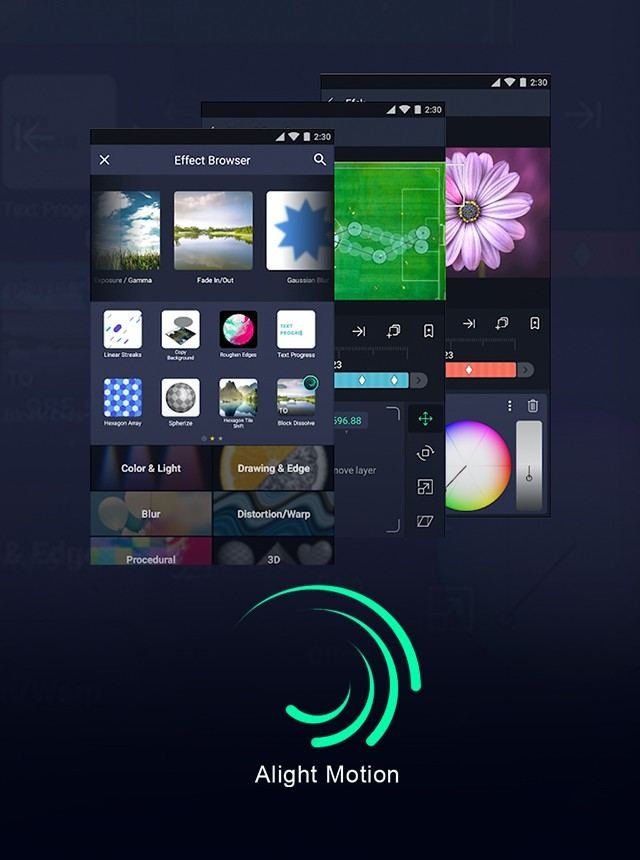
When you open Alight Motion on your PC, you will see several options and tools. Here’s an overview:
Main Screen Components
- Project List: This shows all your ongoing and completed projects.
- New Project Button: Allows you to start a new project.
- Settings: Access to various application settings and preferences.
Creating a New Project
1. Click the “New Project” button.
2. A window will pop up asking for project details like name, resolution, and frame rate. Fill this in according to your preferences and click “Create Project”.
Using Basic Tools in Alight Motion
Once you have created a project, it’s time to familiarize yourself with the basic tools.
Layers and Timeline
The timeline is where you’ll spend most of your time editing. Here’s how to use it:
- Add Layers: Click on the “+” sign to add a new layer (text, shape, media, etc.).
- Timeline Navigation: Use the time scrubber to move through your project frame by frame.
- Editing Layers: Click on a layer to edit its properties, such as its position, size, or rotation.
Adding Media
You can add various media types like photos, videos, and audio to your project:
- Click on the “+” sign and select the “Media” option.
- Browse your computer to find the file you want to add.
- Once added, you can drag and drop the media item anywhere on the timeline.
Applying Effects and Animations
Effects and animations can make your video more engaging. Here’s how to add them:
Adding Effects
1. Select the layer you want to add an effect to.
2. Click on the “Effects” button in the sidebar.
3. Browse through the available effects and click to apply them.
Animating Objects
1. Select the layer you want to animate.
2. Click on the “Animation” tab in the sidebar.
3. Choose “Add Keyframe” to start creating your animation.
4. Move the object and change properties between keyframes to create the desired effect.
Using Advanced Tools
For more advanced users, Alight Motion offers several powerful tools.
Advanced Color Grading
1. Select the layer you want to color grade.
2. Click on the “Effects” tab and choose “Color & Light”.
3. Adjust sliders for hue, saturation, and brightness to achieve the perfect look.
Motion Graphics
1. Use vector layers to create shapes.
2. Combine shapes and animations to produce complex motion graphics.
3. Add text layers for titles, credits, or any other text elements you need.
Exporting Your Project
Once you’re satisfied with your project, it’s time to export it.
Export Settings
1. Click the “Export” button located at the top right corner of the screen.
2. Choose your export settings, including resolution, frame rate, and format.
3. Click “Export” to save the final video to your computer.
Troubleshooting Common Issues
Using Alight Motion on a PC may present some challenges. Here are some common issues and how to solve them:
App Performance
If Alight Motion runs slowly, consider these tips:
- Close other applications to free up system resources.
- Adjust the emulator settings to allocate more RAM and CPU resources.
- Make sure your graphics drivers are up to date.
File Compatibility
Not all file formats may be supported. If you encounter compatibility issues, try converting your files to commonly used formats like MP4 for videos or JPEG for images.
By following these steps and tips, you’ll master the use of Alight Motion on a PC in no time. Happy editing!
Frequently Asked Questions
How do you install an Android emulator on a PC for Alight Motion?
Download an emulator like BlueStacks or NoxPlayer from their official website.
Run the installer and follow the on-screen instructions to complete the installation.
Once installed, launch the emulator and sign in with your Google account.
Open the Google Play Store within the emulator and search for Alight Motion.
Install Alight Motion and start using it on your PC.
Can you use a mouse and keyboard with Alight Motion on a PC?
Yes, you can use a mouse and keyboard with Alight Motion on a PC. The Android emulator allows you to interact with the app using your PC’s mouse and keyboard, providing a more precise and comfortable editing experience compared to touch controls on a mobile device.
How do you export videos from Alight Motion on a PC?
Exporting videos from Alight Motion on a PC is straightforward. After finalizing your project, tap the export icon, usually found in the top right corner of the app. Choose your desired settings for resolution, frame rate, and format. Once the export is complete, the video file will be saved in the specified directory on your PC, ready for sharing or further editing.
Final Thoughts
Using Alight Motion on a PC provides a seamless experience for creating stunning animations and graphics. Start by installing an Android emulator like BlueStacks to run the app effectively. After installation, configure your project settings, import media, and begin crafting your animations using the app’s rich toolset. Don’t forget to save your progress regularly. Finally, export your project in the desired format. With these steps, you can efficiently use Alight Motion on a PC to bring your creative visions to life.


