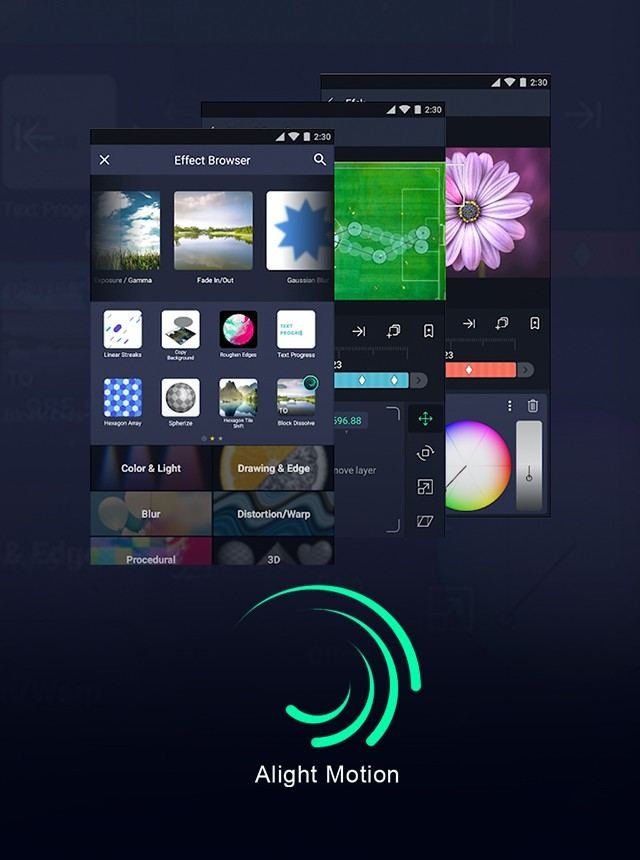
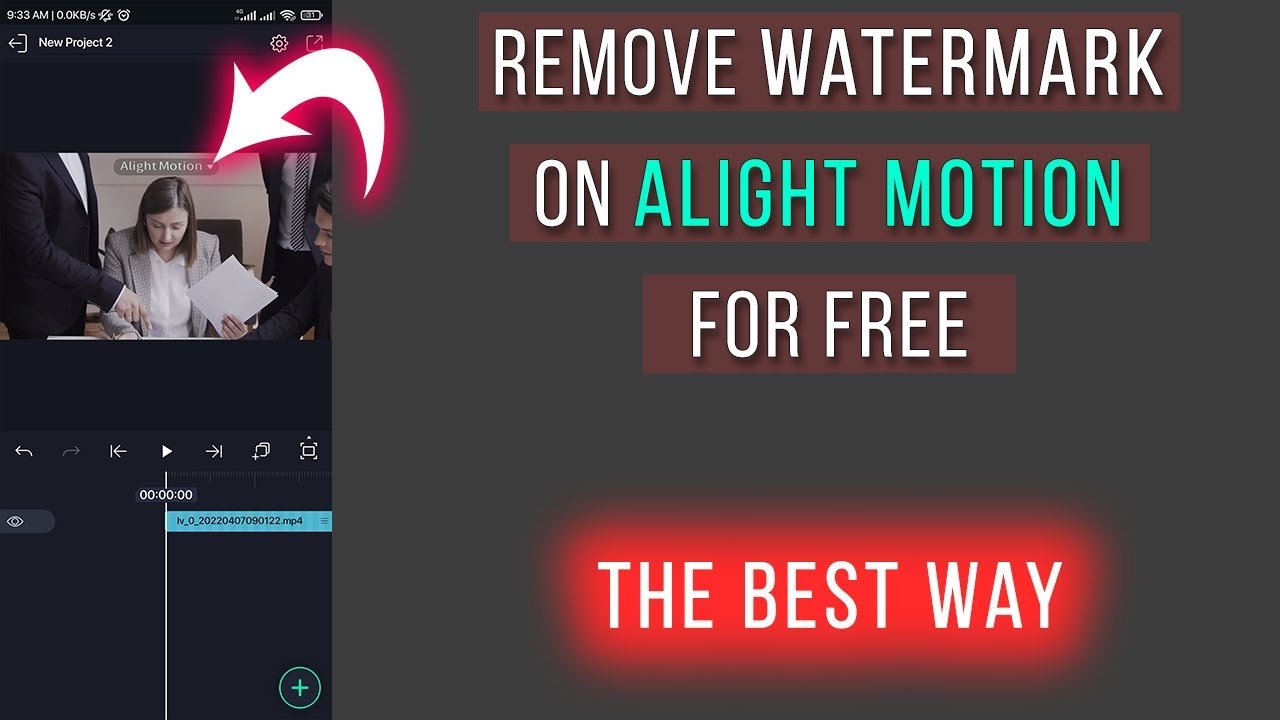
Using a green screen in Alight Motion might seem daunting at first, but it’s actually a straightforward process. To start, import your footage and your green screen background into the app. Next, head over to the effects panel and add the ‘Chroma Key’ effect. This will allow you to remove the green screen, revealing your chosen background. Make sure to fine-tune the settings for a seamless blend. With these steps, you’ll master how to use green screen in Alight Motion in no time. Let’s dive into the details!
Table of Contents
How to Use Green Screen in Alight Motion
Using a green screen in Alight Motion can take your video projects to the next level by allowing you to replace the green background with any image or video of your choice. This technique, also known as chroma keying, is widely used in film and video production to create stunning visual effects. Additionally, if you’re curious about how to edit a lyric video in Alight Motion, we’ve got some tips for you. In this blog, we will thoroughly explore how to use the green screen feature in Alight Motion, a popular video editing app. Let’s dive right in!
Preparing Your Green Screen Footage
Before you can start using the green screen feature in Alight Motion, you need to make sure your footage is properly prepared. Here are the key steps:
Choosing the Right Green Screen
- Choose a green screen that has a consistent color without any wrinkles or folds.
- Ensure the green screen is well-lit. Even lighting will help in achieving a cleaner key when you remove the background.
- Try to eliminate shadows on the green screen as much as possible. Shadows can make it hard to remove the background cleanly.
Setting Up Your Shot
- Place your subject in front of the green screen, making sure they are not too close to avoid shadows.
- Make sure your subject isn’t wearing green, as it will blend with the background.
- Ensure your subject fits well within the frame, leaving minimal green screen around them.
Importing Footage into Alight Motion
Once your green screen footage is ready, you need to import it into Alight Motion.
Starting a New Project
1. Launch the Alight Motion app on your device.
2. Tap on the ‘+’ icon to create a new project. Choose your desired resolution and frame rate.
Importing Your Green Screen and Background Footage
1. Tap on the media icon and import your green screen video from your gallery.
2. Tap on the media icon again to import the image or video you want to use as the new background.
Applying Chroma Key in Alight Motion
Now that your footage is imported, it’s time to use the chroma key feature to remove the green screen.
Removing the Green Screen
1. Tap on the green screen footage in the timeline.
2. Tap on the ‘Effects’ button.
3. Navigate to the ‘Keying’ category and select ‘Chroma Key’.
4. Use the color picker to select the green color in your footage. Adjust the tolerance and softness sliders to make sure the green screen is completely removed.
5. Adjust additional settings like edge softness and spill suppression to make the key look more natural.
Layering and Arranging Your Footage
Proper layering and arrangement of your footage are crucial to making the green screen effect look realistic.
Layering
- Make sure the green screen footage is on the top layer.
- Place the background footage on the layer below the green screen footage.
Adjusting Position and Scale
1. Tap on the green screen layer.
2. Use the position and scale tools to adjust the size and position of your subject to fit the new background.
Adding Additional Effects and Adjustments
Adding additional effects and adjustments can enhance the overall look of your project.
Color Correction
- Use color correction tools to match the lighting of your subject with the background.
- Apply filters to give your footage a cohesive look.
Other Effects
- Add shadows or highlights to make the composite look more realistic.
- Use motion blur to blend moving subjects more naturally with the background.
Exporting Your Final Project
Once you are happy with your project, it’s time to export it.
Export Settings
1. Tap on the export icon.
2. Select the desired format, resolution, and quality settings.
3. Tap on the export button to save your final project to your device.
- Watch the final video to ensure everything looks perfect.
- Share your video on social media or with friends to showcase your new skills.
By now, you should have a strong understanding of how to use the green screen feature in Alight Motion. From preparing your footage and importing it into the app, to applying the chroma key effect and adding final touches, each step is crucial in creating a seamless and professional-looking video. Happy editing!
Frequently Asked Questions
What steps should I follow to apply chroma key in Alight Motion?
First, add your green screen video and the background you want to use to the timeline. Tap on the green screen layer, then select “Effects” from the menu. Choose “Chroma Key” from the “Color & Light” category. Adjust the settings to remove the green background and blend the subject seamlessly into the new background.
How can I fine-tune the chroma key effect for better results?
In the chroma key effect settings, you’ll find options such as “Threshold,” “Smoothing,” and “Feathering.” Adjust the “Threshold” to better define the edges between the subject and background, use “Smoothing” to reduce any rough edges, and “Feathering” to add a slight blend for a more natural look. Experiment with these settings to achieve the best result.
Can I use colors other than green for chroma key effects in Alight Motion?
Yes, you can use other colors for chroma key effects. Although green is the most commonly used color, Alight Motion allows you to select any color for chroma keying. In the chroma key settings, use the color picker to choose the background color you want to remove, and then adjust the settings as needed.
Final Thoughts
Using a green screen in Alight Motion is straightforward. First, import your green screen footage and the background image or video. Then, use the Chroma Key feature to remove the green background from your footage. Adjust the settings to ensure a clean key. Finally, place your subject over the background and make any necessary tweaks. By following these steps, you can effectively learn how to use green screen in Alight Motion for your projects.


