Graphs in Alight Motion are essential tools for animators looking to create smooth and precise motion. They allow users to control the pacing and timing of their animations effortlessly. By adjusting these graphs, you can achieve the exact movement you envision, from slow, gradual transitions to quick, sharp changes. Understanding what are graphs in Alight Motion can elevate your animations from good to great, making your creative projects stand out.
Table of Contents
What Are Graphs in Alight Motion
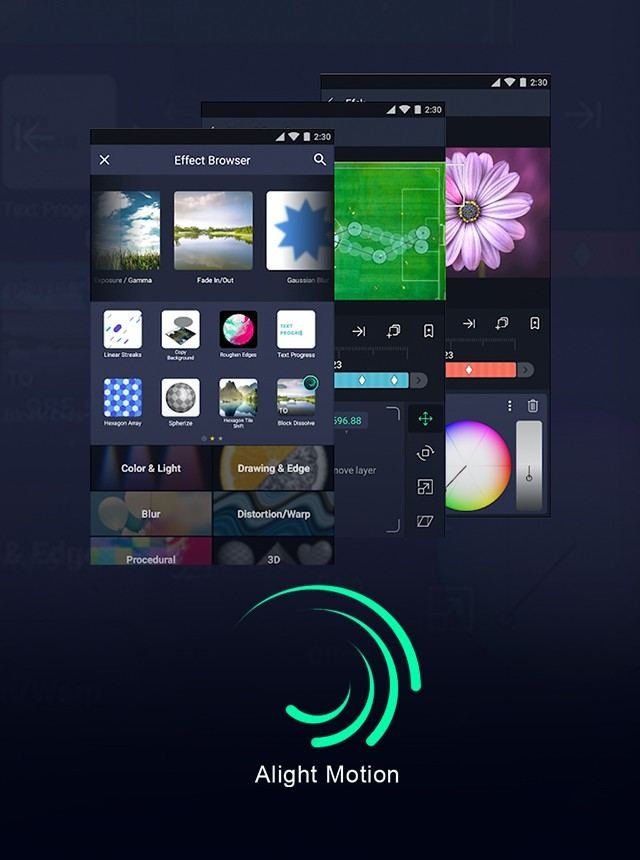
Graphs in Alight Motion are powerful tools that allow users to create smooth and intricate animations by manipulating keyframes and easing curves. If you’re new to animation or Alight Motion, the concept of graphs might appear daunting at first. However, understanding and utilizing graphs can significantly enhance your animation projects. Alight Motion Mod Apk is also relevant to this as it offers additional features and functionalities that can further aid in creating professional-quality animations.
Understanding the Basics
Graphs in Alight Motion represent the change in properties of objects over time. These properties can be anything, from position, scale, and rotation to color and opacity. By plotting these changes on a graph, animators can achieve precise control over how these properties evolve, creating fluid and dynamic animations.
Keyframes and Their Role
Keyframes are the foundation of animation in Alight Motion. They mark specific points on the timeline where particular values of properties are defined. Between these keyframes, Alight Motion calculates the in-between frames, creating a smooth transition from one keyframe to the next.
- Setting Keyframes: To set a keyframe, you need to move the playhead to the desired point in the timeline and adjust the property you want to animate.
- Editing Keyframes: Once set, keyframes can be edited or moved to fine-tune the animation. This flexibility allows for detailed control over how properties change over time.
- Removing Keyframes: If a keyframe is no longer needed, it can be deleted to revert to the default property values.
Easing Curves – Adding Life to Animations
Easing curves are essential for making animations feel more natural. They control the acceleration and deceleration of the animated properties, giving life to the motion.
Types of Easing Curves
Alight Motion provides several default easing curves to choose from:
- Linear: This easing type moves properties at a constant speed from one keyframe to the next. It’s the simplest but often lacks the realistic touch of more complex easing curves.
- Ease In: This curve starts slow and then speeds up towards the end. It’s great for creating animations that need to start gently and finish quickly.
- Ease Out: The opposite of Ease In, this curve starts fast and slows down towards the end. It’s useful for animations that need to start with a burst of speed and then settle gently.
- Ease In-Out: This curve is a combination of Ease In and Ease Out, starting slow, speeding up in the middle, and slowing down again at the end. It is perfect for smooth and organic transitions.
Customizing Easing Curves
For more control over the animation, Alight Motion allows users to create custom easing curves. Custom curves provide the freedom to design unique motion trajectories that can’t be achieved with default easing types.
- Creating Custom Curves: To create a custom curve, select a keyframe and adjust the curve handles in the graph editor. This process can be done by tapping on the curve and dragging the handles to the desired shape.
- Fine-Tuning: Custom curves can be finely tuned by adjusting the handles precisely. This allows for more intricate motion paths.
Working with Multiple Properties
In Alight Motion, you often animate multiple properties simultaneously. Each property has its own graph and can be adjusted independently.
Layer-Based Animation
Animations in Alight Motion are layer-based, meaning each object and its properties can be animated separately. This method provides a non-destructive workflow and makes it easy to adjust individual animations without affecting others.
Combining Graphs
When combining graphs for different properties, keep the interplay between them in mind. For example, synchronizing the rotation and position graphs can create more cohesive and believable motions.
Practical Examples
Let’s explore some practical examples of using graphs in Alight Motion.
Bouncing Ball Animation
Animating a bouncing ball is a great way to understand the power of graphs and easing curves.
- Step 1: Set keyframes for the ball’s position at the start and end points of the bounce.
- Step 2: Add intermediate keyframes to mark the peak points of the bounce.
- Step 3: Apply easing curves to simulate the acceleration and deceleration of the ball’s motion as it bounces.
Text Animation
Animating text can make your videos more engaging. Here’s how you can animate text to fade in and move upwards simultaneously.
- Step 1: Create a text layer and set initial keyframes for its opacity and position.
- Step 2: Set the end keyframes where the text is fully visible and has moved to the desired position.
- Step 3: Apply easing curves to both opacity and position to make the animation smooth and natural.
Advanced Tips
For those looking to take their animations to the next level, here are some advanced tips.
Using the Graph Editor
The graph editor is a powerful tool for visualizing and fine-tuning animations. Spend time exploring its interface and capabilities.
- Zoom In/Out: Zooming in and out will help you to get a better view of the curves and make finer adjustments.
- Snapping: Use the snapping feature to align keyframes and handles precisely.
Combining Different Easing Curves
Combining different easing curves can create complex motions. For example, applying Ease In to the start of a motion and Ease Out to the end can create a dynamic effect.
Animating Along a Path
Animating objects along a custom path can add a unique flair to your projects. Create a path using the drawing tools and then animate the object to follow this path.
Common Mistakes and How to Avoid Them
Everyone makes mistakes when they’re learning, but here are some common pitfalls and how to avoid them.
Overcomplicating Animations
Sometimes simpler is better. Don’t overcomplicate your animations with too many keyframes or overly complex curves.
- Keep it Simple: Use the fewest keyframes necessary to achieve your desired effect.
- Test Often: Frequently preview your animation to ensure it looks smooth and natural.
Ignoring the Graph Editor
The graph editor might seem overwhelming at first, but ignoring it can limit your animation capabilities.
- Explore and Experiment: Spend time experimenting with different curves and settings in the graph editor.
- Follow Tutorials: There are many tutorials available that can guide you through the process of using the graph editor effectively.
Graphs in Alight Motion provide animators with the tools necessary to create smooth, precise, and engaging animations. By mastering keyframes and easing curves, you can transform simple motions into captivating animations. Practice and experimentation are key to discovering the full potential of Alight Motion’s graph functionality. Start with basic animations and gradually incorporate more complex techniques as you become comfortable with the tools. Happy animating!
Frequently Asked Questions
How do graphs function in Alight Motion?
Graphs in Alight Motion serve as a visual representation of how animation parameters change over time. They allow precise control over movement, enabling smooth transitions and intricate animations. By manipulating the graph’s curves, you can adjust the speed and timing of your animation, making it more dynamic and visually appealing.
What types of graphs are available in Alight Motion?
Alight Motion offers several types of graphs, including linear, easing, and custom graphs. Linear graphs create uniform motion, easing graphs add more natural acceleration and deceleration, and custom graphs allow you to design unique motion paths tailored to your specific animation needs.
How can I create a custom graph in Alight Motion?
To create a custom graph in Alight Motion, go to the graph editor within the animation timeline. Select the parameter you wish to animate, such as position or scale. You can then manually adjust the control points on the graph to shape the motion curve as desired, allowing for precise and unique animation effects.
Why should I use easing graphs in my animations?
Easing graphs create more natural-looking motion by simulating real-world acceleration and deceleration. They help to avoid mechanical and robotic movements in your animations. Using easing graphs can significantly enhance the fluidity and realism of your motion graphics, making them more engaging.
Can I use graphs to sync animations with audio in Alight Motion?
Yes, you can use graphs to sync animations with audio in Alight Motion. By adjusting the keyframes and graph curves to match the beats or specific elements of your audio track, you can create a more cohesive and rhythmic animation that aligns perfectly with the sound.
Final Thoughts
Graphs in Alight Motion provide an intuitive way to control and animate properties. By visualizing changes over time, users can create smooth and precise animations. These graphs allow for detailed adjustments, making it easier for creators to achieve their desired effects. In essence, graphs in Alight Motion offer a powerful tool for enhancing animations with precision and creativity.


