Editing your projects in Alight Motion can get tricky, especially when you need to delete clips seamlessly. If you’re wondering how to delete clips on Alight Motion, the process is straightforward and quick. First, navigate to the clip you want to remove on your timeline. Simply tap on it to select it. Then, tap the delete button at the bottom of the screen. That’s it! You’ve successfully deleted a clip. Follow these steps to keep your projects clean and clutter-free.
Table of Contents
- How to Delete Clips on Alight Motion
- Frequently Asked Questions
- Final Thoughts
How to Delete Clips on Alight Motion
When using Alight Motion, one of the common tasks you’ll find yourself doing is managing your clips. Whether you’re creating short animations or complex motion graphics, knowing how to delete clips efficiently is crucial. Additionally, understanding how to duplicate a layer in Alight Motion can streamline your editing process. This guide dives deep into the steps and tips for deleting clips in Alight Motion, ensuring you have all the knowledge you need for seamless video editing.
Understanding the Basics of Alight Motion
Before diving into the deletion process, it’s essential to understand the basic layout and features of Alight Motion. Familiarity with the interface will make the process of deleting clips more intuitive.
Overview of the Interface
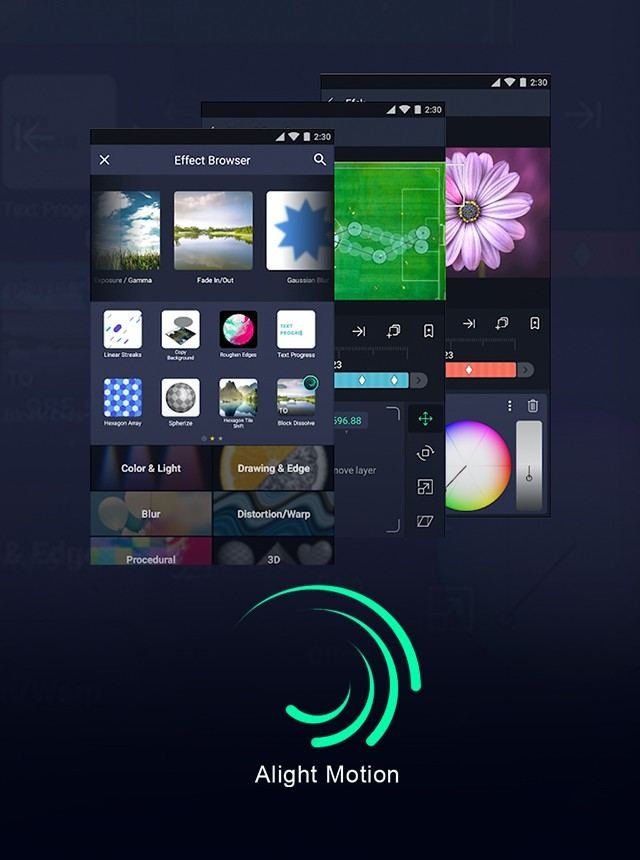
Alight Motion’s interface is user-friendly and packed with features designed to help you create high-quality animations. Here’s a breakdown:
- Timeline: This is where you can see all your layers and clips laid out in a sequential order.
- Media Library: This section houses all the media files you import, such as images, videos, and audio.
- Tools and Effects: Various editing tools and effects can be accessed from here to enhance your clips.
Step-by-Step Guide to Deleting Clips
Now, let’s get into the nitty-gritty of deleting clips. Follow these steps to ensure a smooth and efficient workflow.
Opening Your Project
1. Launch Alight Motion on your device.
2. Navigate to the Projects tab.
3. Select the project you want to edit. This will open up the timeline where all your clips are displayed.
Selecting the Clip
1. Scroll through the timeline to locate the clip you wish to delete.
2. Tap on the clip to select it. You should see a frame appear around the clip, indicating it is selected.
Deleting the Clip
1. With the clip selected, look for the Delete option typically represented by a trash bin icon.
2. Tap the Delete icon. A confirmation prompt may appear asking if you are sure you want to delete the clip.
3. Confirm your action. The clip will be removed from the timeline.
Using Shortcuts for Speed
Alight Motion comes with various shortcuts to help streamline your editing process. Knowing these can save you time, especially when working on large projects.
Gesture Shortcuts
- Long-Press: Long-pressing a clip can bring up a quick menu with the delete option available.
- Swipe: Some versions of Alight Motion allow you to swipe a clip to bring up the delete option.
Keyboard Shortcuts (For Desktop Users)
If you’re using Alight Motion on a desktop, you can use keyboard shortcuts for quicker actions:
- Command + Delete: On MacOS, simply press Command + Delete to remove the selected clip.
- Ctrl + Delete: On Windows, use Ctrl + Delete to achieve the same result.
Undo and Redo Actions
Mistakes happen, and sometimes you might delete a clip by accident. Thankfully, Alight Motion provides easy ways to undo your actions.
Undo Deletion
If you’ve accidentally deleted a clip:
1. Look for the Undo button usually represented by an arrow icon pointing backwards.
2. Tap the Undo button. Your clip will reappear in the timeline.
Redo Deletion
If you undo an action and then decide it was the right choice after all:
1. Locate the Redo button, often represented by an arrow icon pointing forward.
2. Tap the Redo button to re-delete the clip.
Additional Tips and Tricks
To make your editing process even smoother, here are some extra tips you might find useful.
Organizing Your Timeline
A well-organized timeline makes it easier to find and delete clips. Here are some organizational tips:
- Labeling: Use labels or color codes to distinguish different types of clips.
- Grouping: Group related clips together to manage them more easily.
- Layer Management: Keep your layers organized by naming them and using folders.
Regularly Save Your Progress
Always save your project frequently. If something goes wrong, you won’t lose much progress. Alight Motion features an auto-save function, but manually saving ensures you don’t lose crucial edits.
Common Issues and Troubleshooting
Sometimes, you might encounter issues when trying to delete clips. Here are some common problems and how to solve them.
Clip Not Deleting
If your clip isn’t deleting, it could be due to:
- App Glitch: Restart Alight Motion and try again.
- Read-Only Mode: Ensure your project isn’t in read-only mode, which prevents editing.
- Software Update: Check if there’s an update available for Alight Motion. Sometimes bugs are fixed in newer versions.
Accidentally Deleted Important Clips
If you delete something important and can’t undo:
1. Check if you have a backup file of your project.
2. Try restoring from a previous save if auto-save is enabled.
3. Reach out to Alight Motion support for additional assistance.
Advanced Deletion Techniques
For those who are more advanced users, there are some additional techniques that can help you manage clip deletion with precision.
Deleting Clips in Bulk
When you need to delete multiple clips at once:
1. Use the selection tool to highlight all the clips you want to delete.
2. Tap the Delete button, and confirm the deletion of all selected clips.
Using the Timeline Zoom
Zooming in and out on your timeline can give you a better view of your clips, making it easier to select and delete them:
- Pinch Gesture: On touch devices, use two fingers to pinch in or out to zoom.
- Zoom Slider: Some versions may have a zoom slider on the interface.
Backup and Restore Strategies
To avoid losing important work, it’s crucial to have a solid backup and restore strategy in place.
Creating Backups
1. Regularly save copies of your project files in different locations.
2. Use cloud storage options like Google Drive or Dropbox for additional security.
3. Name your backups clearly with dates or versions.
Restoring Projects
1. If you need to restore a project, navigate to your backup location.
2. Import the backup file into Alight Motion.
3. Continue editing from where you left off.
By following the steps and tips outlined in this article, you should now be well-equipped to efficiently delete clips in Alight Motion. Proper clip management is essential for a smooth editing process and helps keep your projects organized. Happy editing!
Frequently Asked Questions
Is there a way to undo a deletion of a clip in Alight Motion?
If you accidentally delete a clip in Alight Motion, you can undo the deletion immediately by tapping the undo button, which looks like a curved arrow, usually located at the top of the interface. This will restore the deleted clip.
What should I do if the delete option is not visible for my clip?
If the delete option is not visible for your clip, you might need to ensure that the clip is selected properly. Tap on the clip to highlight it. If the delete option still does not appear, restarting the app or your device might resolve the issue.
Does deleting a clip affect other elements in my project?
Deleting a clip can affect other elements in your project if they are linked or if you have synchronized multiple elements together. Make sure to review your timeline and check for any dependencies before deleting a clip to ensure it doesn’t disrupt your project.
Final Thoughts
Deleting clips on Alight Motion is a straightforward process. First, open your project and select the clip you want to remove. Then, simply tap the trash icon or use the delete option in the menu. This method allows you to quickly manage and edit your videos with ease. With these steps, you can efficiently keep your projects organized and free of unnecessary clips. Remember, knowing how to delete clips on Alight Motion helps maintain a clean and professional workflow.


