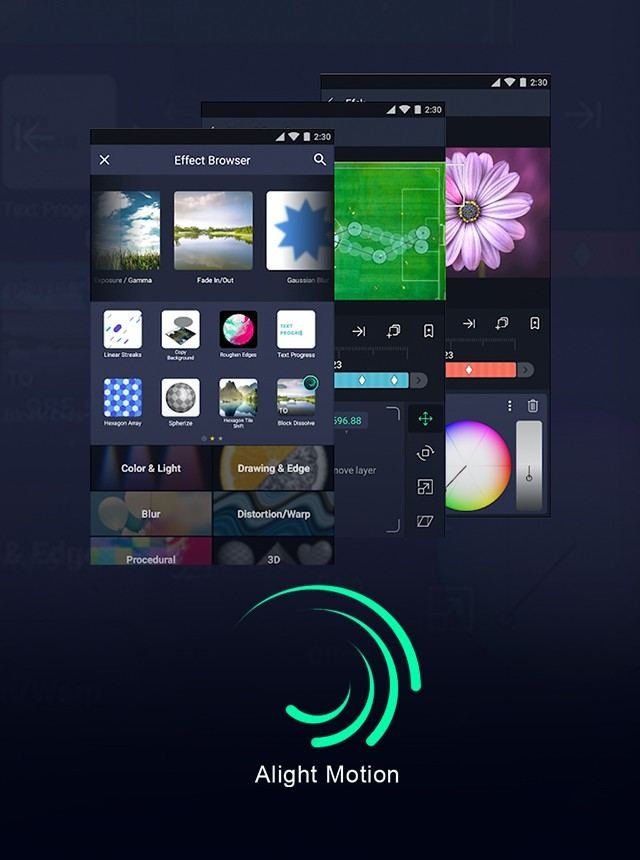
Sharpening your videos on Alight Motion can significantly enhance their quality and detail. This simple process can make your content stand out. First, open your project in Alight Motion and select the clip you want to sharpen. Go to the effects menu and choose the “Sharpen” effect. Adjust the intensity to find the perfect balance that enhances your clip without overdoing it. Practice makes perfect, so experiment with different settings to see what works best for your style.
Table of Contents
- How to Sharpen on Alight Motion
- Getting Started with Alight Motion
- Importing Your Video
- Accessing the Sharpen Tool
- Adjusting the Sharpen Effect
- Fine-Tuning with Keyframes
- Previewing and Exporting Your Video
- Additional Tips for Sharpening Videos
- Common Mistakes and How to Avoid Them
- Using Masks for Selective Sharpening
- Advanced Techniques with Alight Motion
- Saving and Sharing Your Work
- Frequently Asked Questions
- Final Thoughts
How to Sharpen on Alight Motion
Sharpening your videos can make a big difference in their overall quality. Alight Motion is a popular app that lets you edit videos on your mobile device with ease. If you want to learn how to sharpen your videos using Alight Motion, you’re in the right place. In this guide, we’ll walk you through the entire process, step by step. We will also cover tips and tricks, including how to delete clips on Alight Motion, to make your videos stand out.
Getting Started with Alight Motion
Before diving into the sharpening process, let’s make sure you have Alight Motion installed and understand its basic features.
Installing Alight Motion
1. Go to your mobile device’s app store (Google Play Store for Android or Apple App Store for iOS).
2. Search for “Alight Motion.”
3. Click “Install” and wait for the app to download and install.
Opening a New Project
1. Open Alight Motion on your device.
2. Tap the “+” icon to start a new project.
3. Select the desired video resolution and frame rate. Typically, 1080p at 30fps works well for most projects.
4. Name your project and tap “Create Project.”
Importing Your Video
To begin sharpening, you need to import the video you want to edit.
1. On the main screen, tap the “+” icon inside the project workspace.
2. Choose “Media” and browse your device’s gallery to select the video file.
3. Tap “Import” to add the video to your timeline.
Accessing the Sharpen Tool
Once your video is on the timeline, you can begin the sharpening process.
1. Tap on the video layer to select it. You will see multiple options at the bottom of the screen.
2. Scroll through the options and find the “Effects” button. Tap it.
3. Search for the “Sharpen” effect or find it under the “Basic” effects category.
4. Tap the “Sharpen” effect to apply it to your video.
Adjusting the Sharpen Effect
Applying the sharpen effect is only the first step. You need to adjust it to achieve the best results.
Setting the Intensity
1. After applying the sharpen effect, you will see a slider labeled “Sharpness.”
2. Drag the slider to adjust the intensity. Start with a lower number and gradually increase it.
3. Try to avoid over-sharpening, as it can make the video look unnatural.
Using the Radius Setting
1. Some versions of the sharpen effect include a “Radius” option.
2. The radius determines how much of the surrounding pixels are used to calculate the sharpen effect.
3. Adjust the radius to find a balance that enhances details without creating a halo effect around objects.
Fine-Tuning with Keyframes
Alight Motion allows you to use keyframes for more precise control over your effects.
1. To add a keyframe, tap the diamond icon next to the effect parameters.
2. Move the playhead to a new position on the timeline and adjust the sharpen settings. Another keyframe will automatically appear.
3. Continue adding keyframes as needed to vary the sharpening effect over time.
Previewing and Exporting Your Video
After setting the sharpening effect, preview your video to see how it looks.
1. Tap the play button to watch your video within the app.
2. Make any additional adjustments to the sharpen effect if necessary.
3. When you’re happy with the result, tap the export button (usually an arrow pointing up).
Export Settings
1. Choose your export settings. For most purposes, a resolution of 1080p and a bitrate of around 10Mbps works well.
2. Tap “Export” and wait for the process to finish.
3. Save the video to your device or share it directly to social media.
Additional Tips for Sharpening Videos
Here are some extra tips to help you get the best results:
- Use Natural Lighting: Proper lighting can reduce the need for heavy sharpening.
- Combine Effects: Sometimes combining the sharpen effect with slight contrast or clarity adjustments can enhance the overall look.
- Preview on Different Devices: What looks good on your phone might not look the same on a computer screen, so always check on multiple devices.
- Focus on Key Areas: If only certain parts of the video need sharpening, consider masking or using selective effects.
Common Mistakes and How to Avoid Them
Sharpening can be a bit tricky. Here are some common mistakes and how to avoid them:
Over-Sharpening
Many beginners make the mistake of over-sharpening their videos, which can make them look grainy and unnatural. To avoid this:
1. Start with a low sharpness setting.
2. Gradually increase it until you achieve the desired effect.
3. Always preview your video after each adjustment.
Ignoring Other Effects
Sharpening alone might not always give you the best results. Sometimes, using other effects like contrast or brightness can complement the sharpening effect. Don’t hesitate to experiment with these additional effects.
Using Masks for Selective Sharpening
Sometimes, you may want to sharpen only certain parts of the video. Alight Motion provides a mask feature that allows you to do this.
1. Select the video layer and tap “Effects.”
2. Apply the sharpen effect.
3. Tap the mask icon and choose the type of mask you want (circle, rectangle, etc.).
4. Adjust the mask to cover only the area you want to sharpen.
5. Fine-tune the mask’s position and size as needed.
Advanced Techniques with Alight Motion
For those who want to go a step further, Alight Motion offers advanced techniques to refine your video even more.
Combining Sharpen with Other Filters
1. Apply other filters like “Contrast” or “Saturation” to enhance the sharpen effect.
2. Layer multiple effects and adjust their settings to get the perfect look.
Using Blending Modes
1. Blending modes can enhance the sharpen effect by changing how the sharpen layer interacts with the original video layer.
2. Experiment with different blending modes like “Overlay” or “Soft Light” to see how they affect the sharpened video.
Animating the Sharpen Effect
1. Use keyframes to animate the sharpen effect.
2. Gradually increase or decrease the sharpen intensity during specific scenes for dramatic effect.
Saving and Sharing Your Work
Once your video looks perfect, it’s time to save and share it.
1. Tap the export button.
2. Select your export settings.
3. Save the video to your device.
4. Share it on social media or with friends and family!
Frequently Asked Questions
Are there any presets for sharpening in Alight Motion?
Alight Motion does not come with specific presets for sharpening. However, you can create your preferred sharpness settings and save them as a custom preset. After adjusting the sharpen effect to your liking, tap on the three dots menu and choose ‘Save As Preset’ for future use.
How do I apply the sharpen effect to multiple layers?
To apply the sharpen effect to multiple layers in Alight Motion, you can use the ‘Grouping’ feature. First, group the layers you want to sharpen by selecting them and choosing the ‘Group’ option. Then, apply the sharpen effect to the group just like you would to a single layer.
Will sharpening affect the video’s quality?
Sharpening can enhance details and clarity, but overdoing it may introduce noise or halos around edges, which can deteriorate the video’s quality. It’s important to find a balance when using the sharpen effect to maintain the overall quality of your video. Adjust the intensity gradually and preview the results to ensure the best outcome.
Final Thoughts
To sharpen on Alight Motion, start by adjusting the sharpness settings in the editing tools. Increase the sharpness gradually until the desired clarity is achieved. It’s important to balance sharpness with other effects to maintain a natural look. Always preview your edits to ensure that the sharpness enhances rather than distorts your video. Practice these steps regularly to become proficient in using Alight Motion’s sharpening feature.


